

Vinyl plank flooring is one of the most sought-after flooring options for homeowners these days. It is inexpensive, long-lasting, moisture-resistant, and quite similar to natural hardwood. Not only that, but it’s easy to install, making it a popular choice for do-it-yourself projects.
Easy, however, does not mean foolproof. Although the planks connect through a simple locking mechanism, even the smallest of mistakes in the installation process can cause problems later. Some of the problems that result from bad installation are gaps between boards, buckled floors, lifted edges, and irregular seams.
Why Proper Vinyl Plank Installation Matters
It’s important to grasp why proper installation is so essential before diving into the errors. Most vinyl plank flooring is a floating floor, not glued or nailed down. Rather, it sits atop the subfloor and relies on proper cuts, spacing, and a level foundation for long-lasting performance.
Once installed properly, vinyl plank flooring can last from 15 to 25 years and beyond. If not done properly or hurriedly, the same floor can have issues in just a few months. Repairing is time-consuming and expensive, and may involve lifting and reinstalling large sections of the floor.
The good news is that the majority of installation errors will be prevented simply by knowing what to look out for. Let’s take a closer look at each of them.
1. Skipping Subfloor Preparation
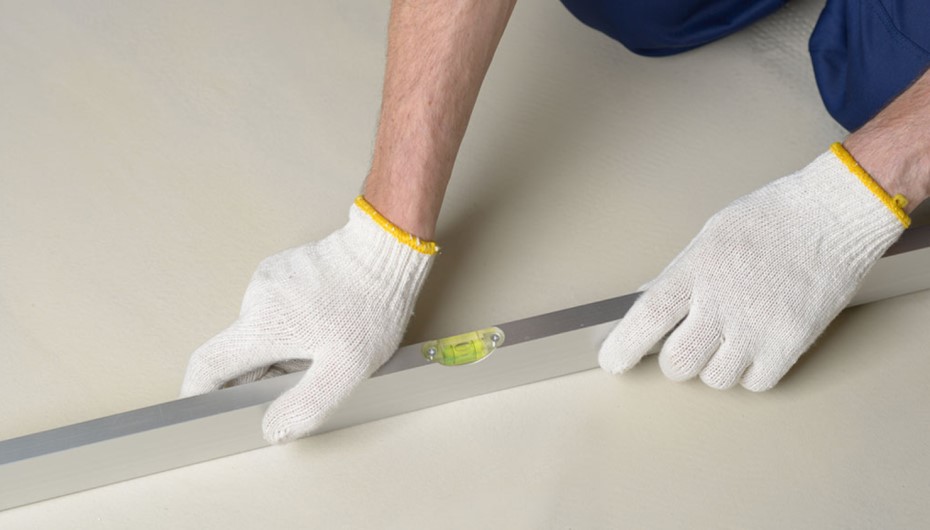
The largest and most serious of errors is installing vinyl planks over a poorly prepared subfloor. Many DIYers think that vinyl planks can cover bumps, cracks, or debris. They will not. In fact, all such flaws beneath will eventually reveal themselves as uneven patches, soft spots, or moving floorboards.
Vinyl plank flooring must be installed over a clean, dry, level, and smooth subfloor. Industry guidelines specify a maximum deviation of the surface of 3/16 inch within 10 feet. Pressure points from high spots can damage the locking system, and low spots leave planks unsupported, leading to flexing.
How to avoid it:
- Sweep, vacuum, and wipe down the subfloor before starting.
- Remove old adhesive, staples, nails, and any debris.
- Use a self-leveling compound to fill low spots.
- Sand or grind down high spots until the surface is even.
- Check flatness with a long straightedge or a 6-foot level.
Some additional hours of subfloor preparation will save you many years of headaches.
2. Forgetting to Acclimate the Planks
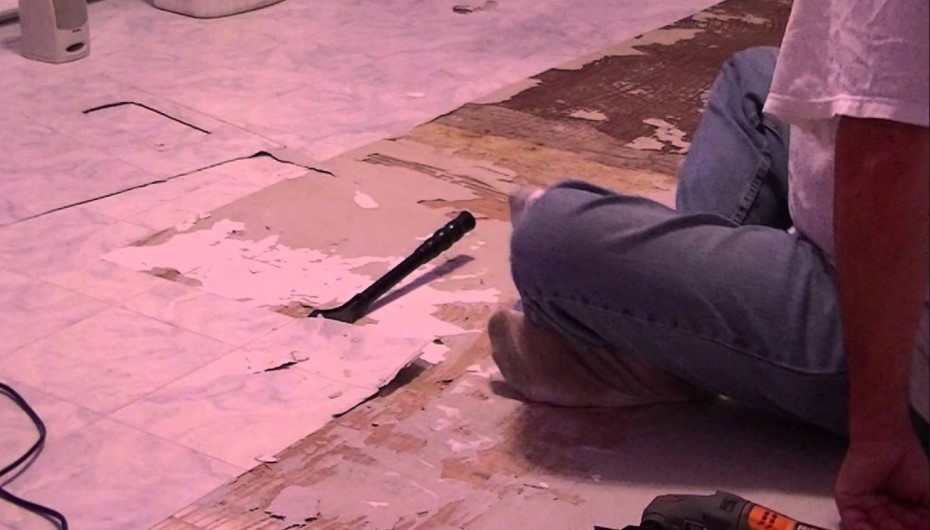
Vinyl planks should be allowed time to acclimate to the room temperature and humidity of the room in which they are to be placed. This is known as acclimation. Failure to do this can cause planks to swell and shrink after installation, resulting in gaps, buckling, or seam separation.
How to avoid it:
- Bring the unopened boxes of vinyl planks into the installation room at least 48 hours before starting. Many manufacturers recommend 72 hours for the best results.
- Keep the room at a normal living temperature, generally between 65°F and 85°F (18°C to 29°C).
- Maintain stable humidity during this period.
- Stack the boxes flat and avoid placing them on cold concrete without a barrier.
This simple step can make a huge difference in the long-term performance of the floor acclimation.
3. Not Leaving an Expansion Gap
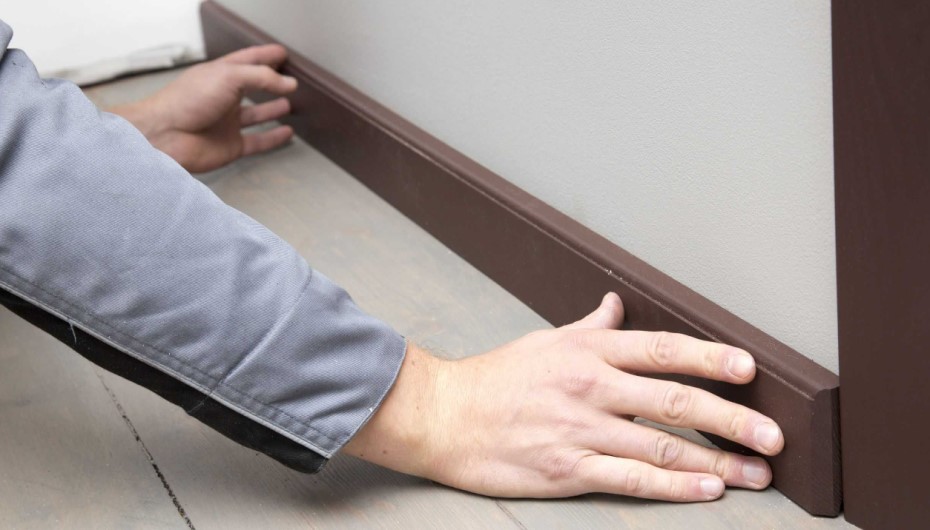
Vinyl plank flooring is prone to expand and contract as a result of temperature and humidity changes. The planks will be unable to move if they are installed too close to walls, cabinets, doorframes, or pipes. This causes buckling, the edges of the floor to be lifted up, or the floor to pop out and make noise as it pushes against something that is not moving.
Most manufacturers allow a 1/4″ expansion gap around the room. Some say up to 1/2″, particularly for larger rooms or where there is a lot of temperature fluctuation.
How to avoid it:
- Use spacers along all walls and around fixed objects during installation.
- Keep the same gap size around doorframes, cabinets, islands, and pipes.
- Cover the gap with baseboards, quarter round, or trim once the floor is finished.
- Never seal the gap with caulk or rigid filler, as this blocks natural movement.
This little space is not noticed after it has been installed, but it is crucial to the levelness and stability of your floor.
4. Ignoring the Manufacturer’s Instructions
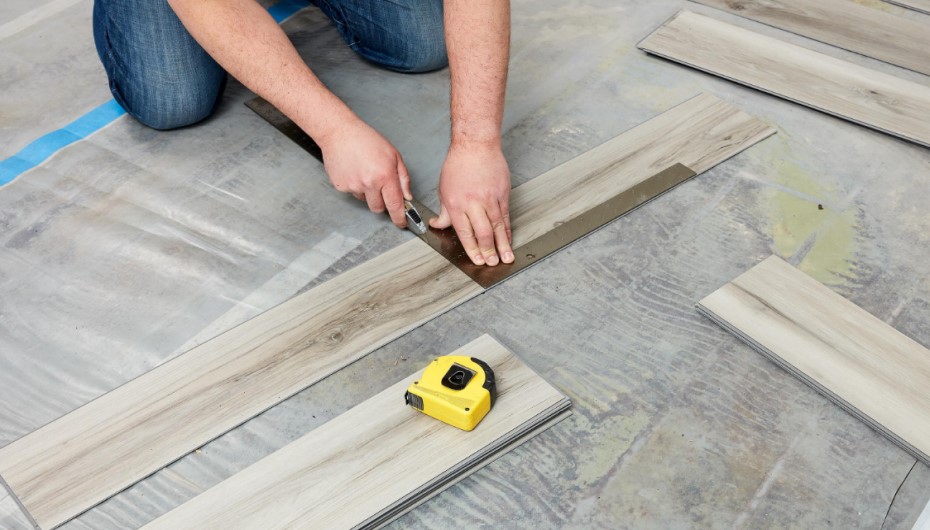
Every vinyl plank flooring brand will have a few differences. Some employ click-lock systems, others need glue, and some products even call for particular underlayments or moisture barriers. Failure to do so may result in loss of warranty and installation failures.
How to avoid it:
- Before you start, read the instructions for installing included in the box.
- Specify any special requirements for the type of subfloor, underlayment, expansion gaps, or environmental conditions.
- Have the guide on hand for installation in case you need it.
- After installation, follow the recommended clean-up and care instructions as well.
Products are thoroughly tested by the manufacturers. By following their directions, you can safeguard your floor and your warranty.
5. Not Testing Subfloor Moisture
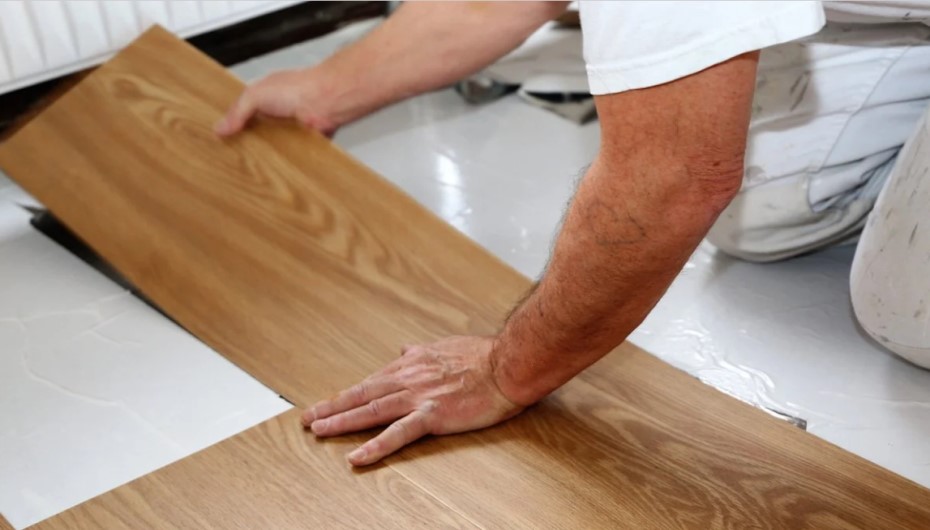
Vinyl planks provide waterproofing, but the material below the vinyl is typically not waterproof. Too much moisture in concrete slabs or wood subfloors can cause planks to separate, warp, or mold to grow under the floor. This is one of the most common pitfalls for how to cut vinyl plank flooring particularly in basements and rooms on the main floor.
How to avoid it:
- Use a moisture meter to test the subfloor before installation.
- For concrete, perform a calcium chloride test or use a relative humidity probe.
- Wood subfloors should typically have a moisture content below 14%.
- Install a vapor barrier or moisture-resistant underlayment when working over concrete.
- Address any leaks, plumbing issues, or drainage problems before laying the floor.
If the moisture levels are high, dry longer or seek help from a professional before following on.
6. Not Removing Baseboards and Trim
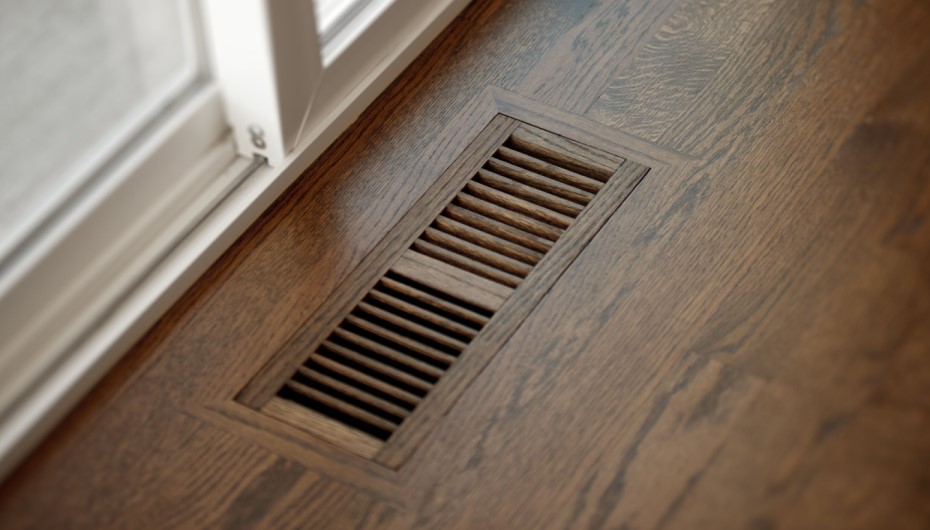
When it comes to removing baseboards, many DIYers don’t want to do that extra step. This can be done with vinyl planks, and trim can be installed later to fill the gap, but it won’t be quite as neat and professional as removing the trim first.
How to avoid it:
- Use a trim pull tool or a thin pry bar to carefully remove baseboards.
- Number the pieces so you can put them back in the same place.
- Install the planks with a proper expansion gap against the wall.
- Reinstall the baseboards over the edges of the planks for a seamless finish.
- When reinstalling baseboards, do not press them down tightly against the floor. Leave a small space so the planks can move freely.
Taking the baseboards off is a bit more work, but it will make your floor look much more finished.
7. Skipping or Choosing the Wrong Underlayment
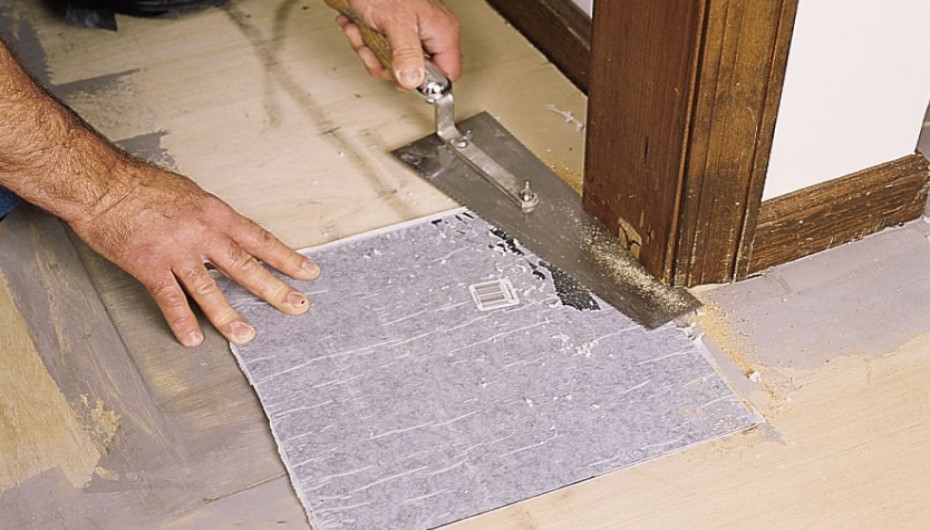
Underlayment is a thin material that is laid under the vinyl planks. It offers cushioning, absorption, and occasionally a moisture barrier. Omitting this layer or applying the incorrect layer can result in noisy floors, uneven surfaces, and a lack of comfort.
But not all vinyl plank flooring requires an additional underlayment. Most of the modern products come with a pre-attached pad. Adding a layer to everything on top of this can effectively cause injury to the locking system.
How to avoid it:
- Check the manufacturer’s instructions to see if an underlayment is required, optional, or prohibited.
- For planks without a built-in pad, choose an underlayment designed specifically for vinyl flooring.
- On concrete subfloors, always use a moisture-resistant underlayment.
- Avoid foam pads designed for laminate, as they may be too thick for vinyl.
The right underlayment will make a floor more comfortable, quieter, and help it last longer.
8. Poor Layout Planning
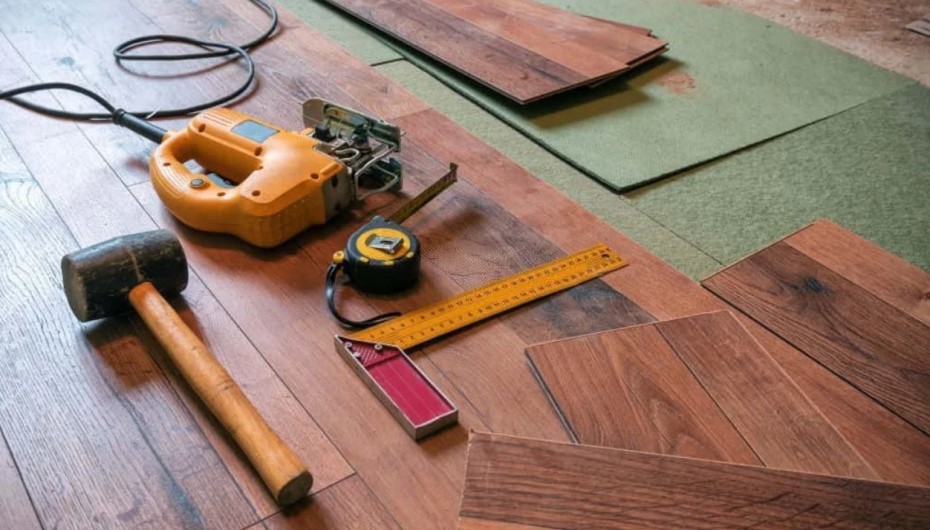
If you do not have a plan, then you will not get the best installation results. Typical issues are having very thin planks on one side of the wall, cutting around obstacles incorrectly, or cutting the planks in a way that shrinks the room.
How to avoid it:
- Measure the room and calculate the number of rows by dividing the room by the plank width to predict how the rows will end.
- If the last row is less than one-third of a plank wide, cut the first row narrower to balance both ends.
- Use the planks parallel to the longest wall in most rooms.
- If the room is windowed, planks should be installed in the same direction as the window to open up the space.
- When installing vinyl planks, try to install them perpendicular to the floor joists, if possible; this will aid in structural stability.
A little work making a layout plan will make a big difference in the appearance of the finished floor.
9. Not Mixing Planks from Different Boxes
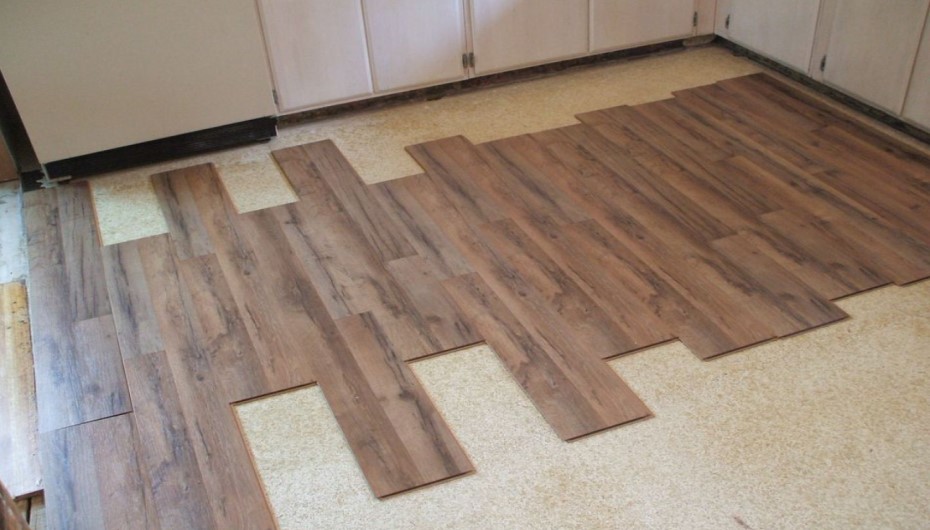
Vinyl planks may be a little bit lighter or darker, or have a different pattern or texture than other boxes in the same collection. When installing one box at a time, you can end up with patches of color on your floor, with one area of the floor being lighter or darker than another.
How to avoid it:
- Open at least 3 or 4 boxes at the beginning.
- Try to move planks around in a “dry run” before securing them together.
- Install each row of planks, mixing planks from different boxes as you go.
- Watch out for repetition, and turn to prevent clumping.
This easy trick ensures that the look will be balanced and natural throughout the floor.
10. Not Purchasing Enough Extra Flooring

One of the most common errors made during vinyl plank flooring installation is buying too much or too little of the flooring. There are always some losses due to cuts, mistakes, and damaged planks. Mid-installs are the worst culprit for not finishing the job, color mismatches, or delays.
How to avoid it:
- Order at least 10% more than the room’s square footage.
- For rooms with many corners, angles, or obstacles, order 15% extra.
- Keep at least one or two unopened boxes for future repairs.
- Store extra planks in a dry, temperature-controlled space.
It is often not possible to get planks years later with the same color and pattern. Purchase now – save a lot of future hassle!
11. Forcing the Click-Lock System
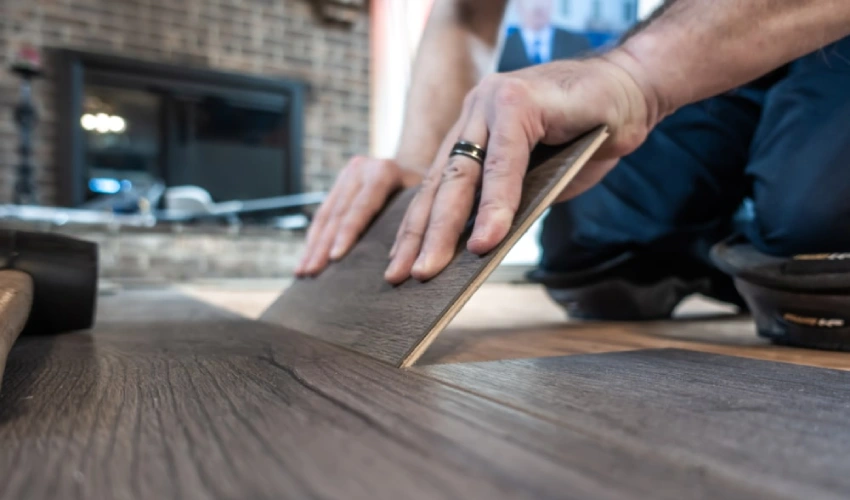
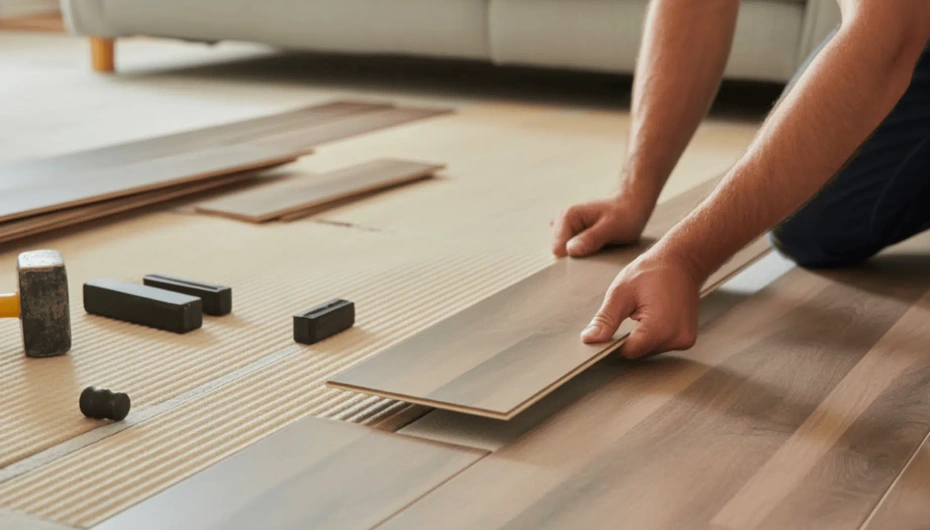
Click-lock vinyl planks are engineered to click into place with a bit of pressure. Some installers may pound or pull the locking edges into place if they don’t line up properly. This can cause gaps to occur at a later time, even if the floor is installed correctly.
How to avoid it:
- Make sure to join the plank in the proper direction to the one above it.
- Only use a tapping block and rubber mallet (not a normal hammer on the plank).
- If one of the planks doesn’t slide in easily, remove the plank and inspect for debris or alignment issues.
- Be sure that each plank is completely locked before moving to the next.
This is a time of patience; it will prevent many long-term problems.
12. Cutting Around Obstacles Carelessly
Pipes, vents, doorframes, and strange corners can be difficult to maneuver around. Sloppy cutting can result in gaps, broken edges, or uneven seams. When making two short pieces fast around a vent, for instance, a weak point is frequently produced.
How to avoid it:
- Use a sharp utility knife for straight cuts and a jigsaw for curves and notches.
- Score the plank deeply and snap it cleanly to avoid rough edges.
- Whenever possible, use a single full plank to span around vents and fixtures rather than joining two short pieces.
- Use a profile gauge to copy the shape of irregular obstacles before cutting.
- Undercut doorframes with a flush-cut saw so the planks slide neatly underneath.
The key to a DIY finish and a professional finish is careful cutting around obstacles.
13. Installing Over Unsuitable Surfaces
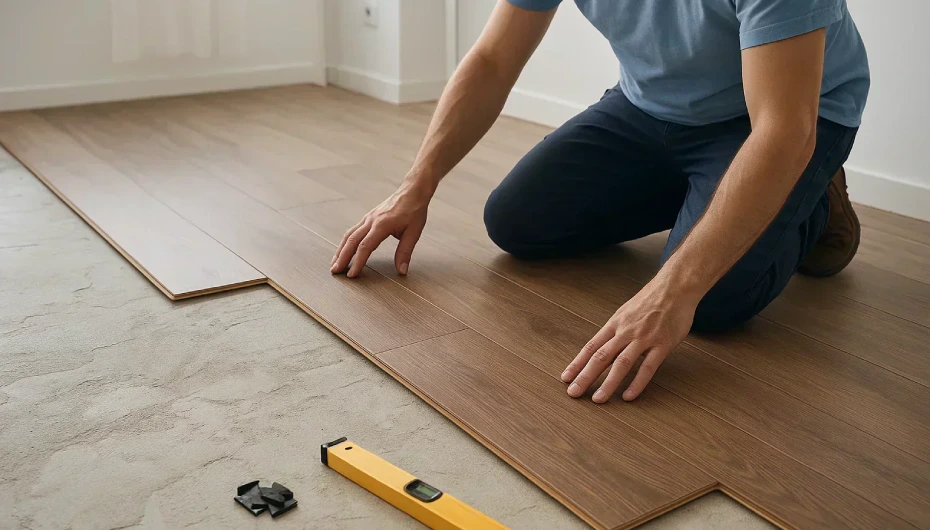
But not all of the pre-existing flooring is suitable for vinyl planks. Carpet, cushioned vinyl, heavily textured tile, and damaged hardwood all pose issues. The planks move and flex in soft surfaces, and the pattern from the uneven tiles can be carried through the new floor.
How to avoid it:
- Remove all carpet and padding before installing vinyl planks.
- Avoid laying vinyl over cushioned or padded floors.
- For ceramic tile, fill the grout lines with leveling compound if you choose to install over them.
- Check the manufacturer’s list of approved subfloor types.
- When in doubt, remove the existing floor and start with a clean subfloor.
Vinyl plank flooring requires a stable and solid surface to be long-lasting.
14. Skipping the Right Tools
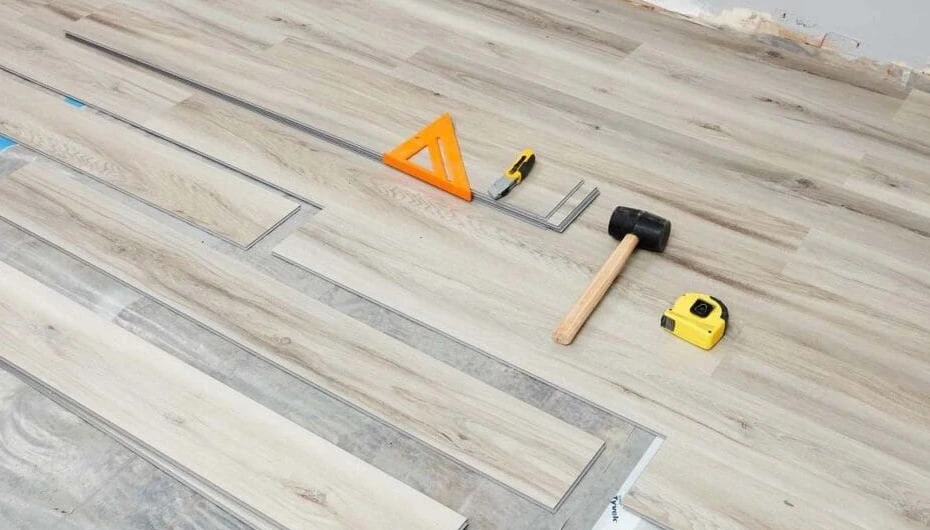
Without the right equipment, vinyl plank flooring installation is often slower, cuts are not as clean, and mistakes occur more frequently. Most people who try to do their own work have just a utility knife and a hammer, and that’s just not sufficient to perform a clean job.
How to avoid it:
Before you start, make sure you have the following tools:
- Tape measure and pencil
- A utility knife with extra blades
- Tapping a block and a rubber mallet
- Pull bar for tight spots near walls
- Spacers (1/4 inch)
- Carpenter’s square for straight cuts
- Jigsaw or oscillating tool for curves
- Long level or straightedge
- Moisture meter (for concrete or basements)
- Knee pads for comfort
Although it may be a small investment, it will be worthwhile with cleaner cuts, faster work, and a more professional finish.
Quick Checklist Before You Start
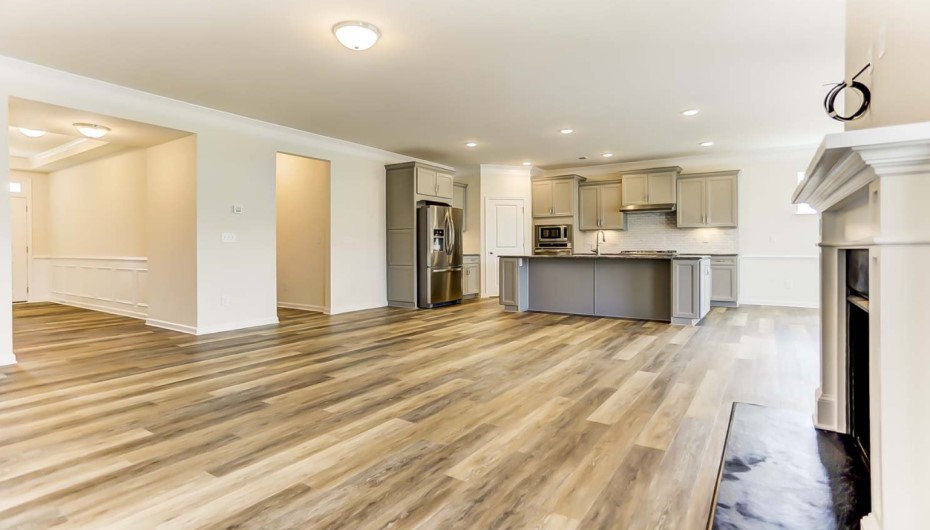
If you’re laying your first plank, make sure you have completed this brief checklist:
- The subfloor is clean, dry, level, and smooth.
- Moisture readings are within acceptable limits.
- Planks have acclimated for 48 to 72 hours.
- Baseboards and trim have been removed.
- The layout has been planned and measured.
- Boxes have been opened and planks mixed.
- All required tools are ready and within reach.
- An expansion gap is marked along all walls.
- The manufacturer’s instructions have been read.
- Extra flooring (10–15%) is on hand.
By using this checklist, you will be able to avoid most of the pitfalls discussed in this guide.
Conclusion
Luxury vinyl planks and floors are ideal for DIY projects. Learn from these common mistakes to ensure a smooth process before installing vinyl plank flooring. By following these tips, you’ll achieve a flawless finish, a hardwood-like elegance, and quick installation. To avoid potential issues, follow the guide above, and enhance your space with luxury vinyl plank flooring.
It also enhances the clean lines and bold colors of a mid century modern living room, creating a stylish base for your decor. Additionally, vinyl makes good flooring for those with allergies, as its smooth surface does not trap dust, pollen, or other allergens, promoting a healthier indoor environment. Keep visiting styleofhome.com to find more amazing DIY projects to enhance the beauty and functionality inside your home.
Frequently Asked Questions (FAQs)
How long should vinyl planks acclimate before installation?
Most manufacturers suggest 48 hours minimum, 72 hours is ideal. The boxes need to be kept in the installation room at normal living temperature and humidity for this duration. Longer acclimation may be required in regions that have extreme weather conditions.
What is the biggest mistake people make with vinyl plank flooring?
The worst thing that can go wrong is inadequate subfloor preparation. This causes problems that will not be corrected by careful installation, even if the surface is dirty, uneven, or damp. Every successful vinyl plank floor requires a flat, clean, and dry subfloor.
What Not To Use On Vinyl Plank Flooring?
Yes. Vinyl expands and contracts due to changes in temperature and humidity, even in small rooms. Regardless of the size of the bathroom or hallway, the expansion gap could be neglected, resulting in buckling and lifting over time. Leave 1/4″ or more of space around the edges.
Can I install vinyl plank flooring over existing tile?
In many cases, yes. A clean, level, and good-condition tile is required. Grout lines that are wide should be filled with a leveling compound to eliminate the pattern through the grout. Check the manufacturer’s guidelines before using tile to be sure it is approved for subfloor use.
How much extra vinyl plank flooring should I buy?
Buy a minimum of 10% more than the square footage of the room. If the room has a lot of corners, diagonal positions, or many obstacles, raise this to 15%. Additional planks are used as backups for future repairs.
Why is my vinyl plank floor separating at the seams?
There are typically three reasons for separation: lack of acclimation, uneven or damp subfloor, or lack of an expansion gap. In some instances, forced installation has also resulted in damage to the locking edges. Firstly, the specific cause has to be identified in order to fix the problem.
Should vinyl planks be installed parallel or perpendicular to floor joists?
Whenever possible, vinyl planks should be installed perpendicular to the floor joists. This will create an extra stable structure and minimize the risk of flexing or separation. If this is not possible, then run the planks towards the main source of light or parallel to the longest wall.
Can I install vinyl plank flooring myself, or should I hire a professional?
Vinyl plank flooring is one of the easiest to DIY among all of the flooring choices. It can be installed successfully by most homeowners who have basic tools at hand and are not in a hurry. If your subfloor is in need of significant repair, you have a complicated layout, or you are working over concrete and are concerned about moisture, the better option would be to hire a professional.