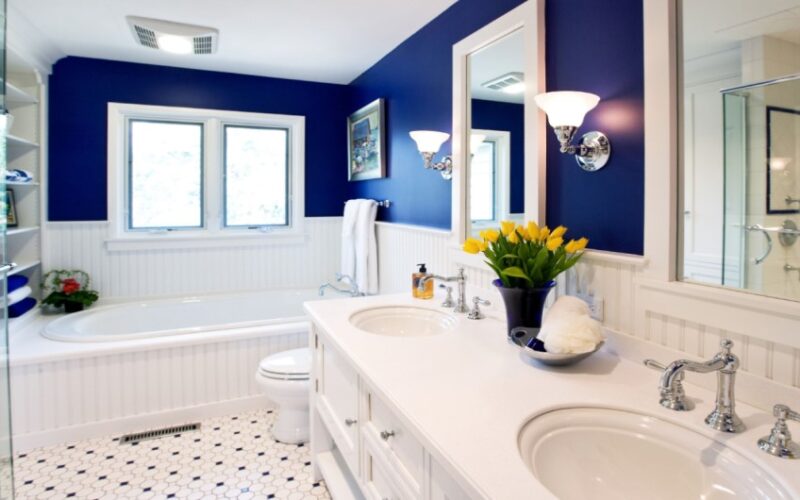
Wainscoting installation is a process that can revive your walls and beautify your space, especially in bathrooms. Bathroom decor is a must-have thing to focus on when discussing architectural styles. Covering Beaboards in the bathroom adds a nice touch to the room’s beauty. I have an amazing experience regarding installing wainscoting in the bathroom with my friend Adam.
Wainscoting Installation In Bathroom
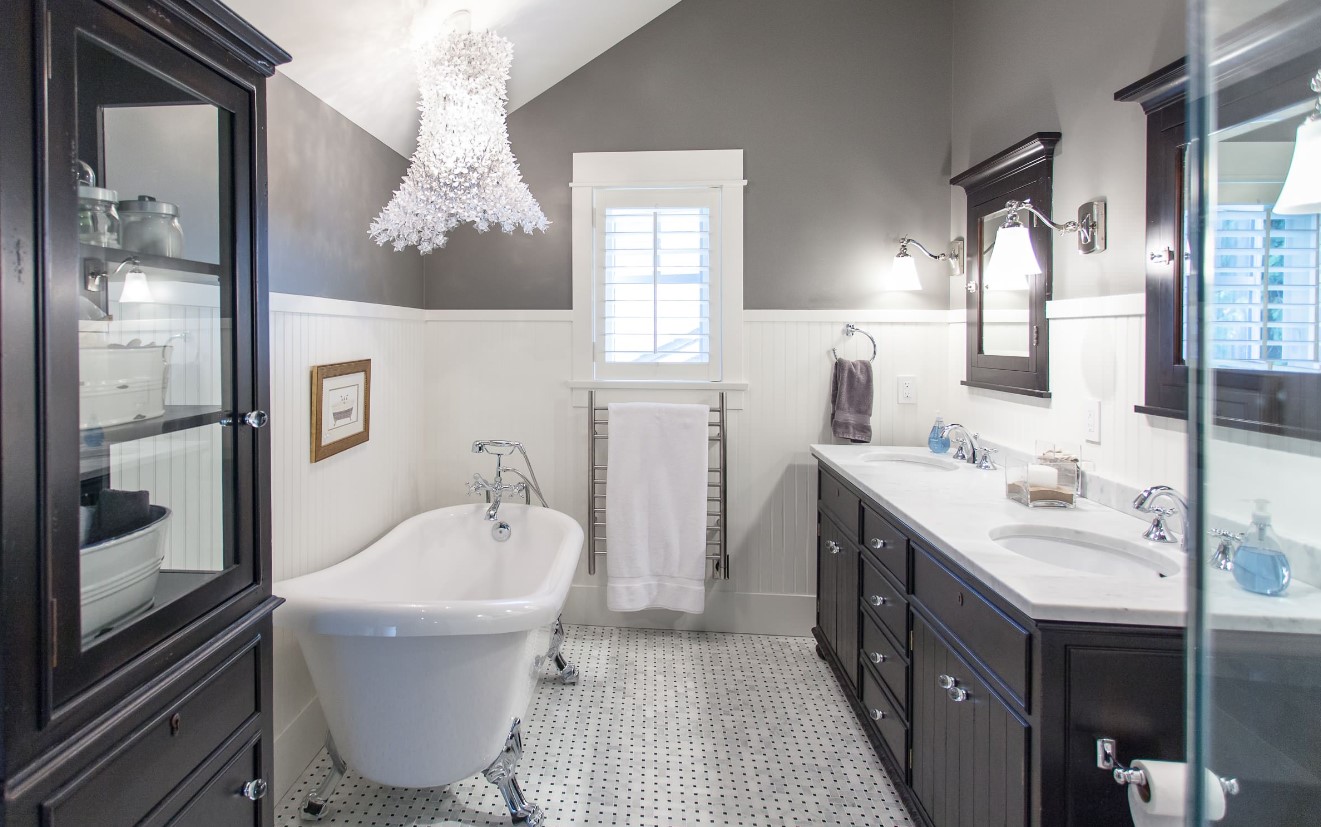
I have an average bedroom size with an attached bathroom. We planned to install beadboard wainscoting for the bathroom. We simply started by gathering tools and materials.
1. Tools & Materials Needed For Beadboard Wainscoting
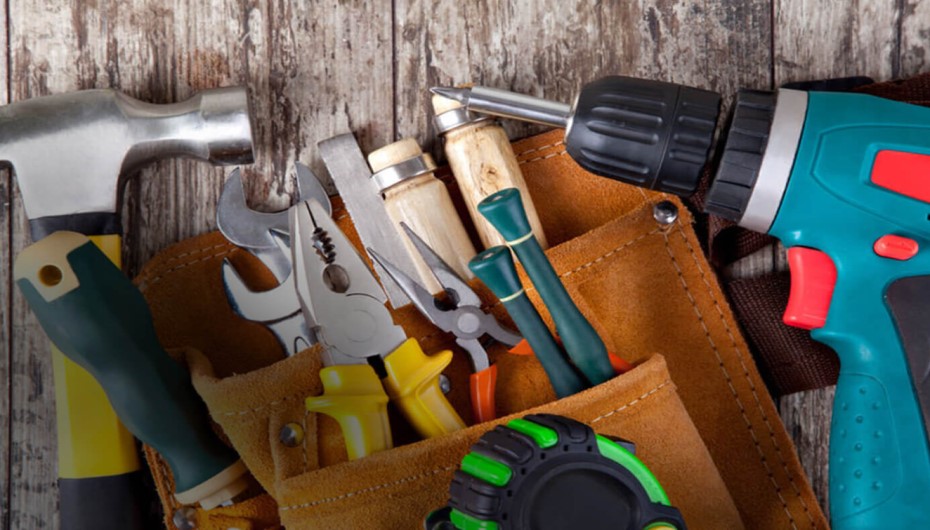
We gathered tools from our store room and purchased some materials from a local store. Here are some details:
- Beadboard Panels, Baseboards & Trim for Door & Windows
- Standard 1×4 panel, Header Stop Trim Piece
- Stud Finder, Wood Filler, Caulk, Sander
- 18 Guage Brad Nailer, Brads
- Miter Saw, Circular Saw, Kreg Rip-Cut Circular Saw
- Multimaster Flush Cut Tool
- Cordless Drill and trim head screws
- Paint of your choice, Paintbrush and Roller
2. Wainscoting Measurements For Installation
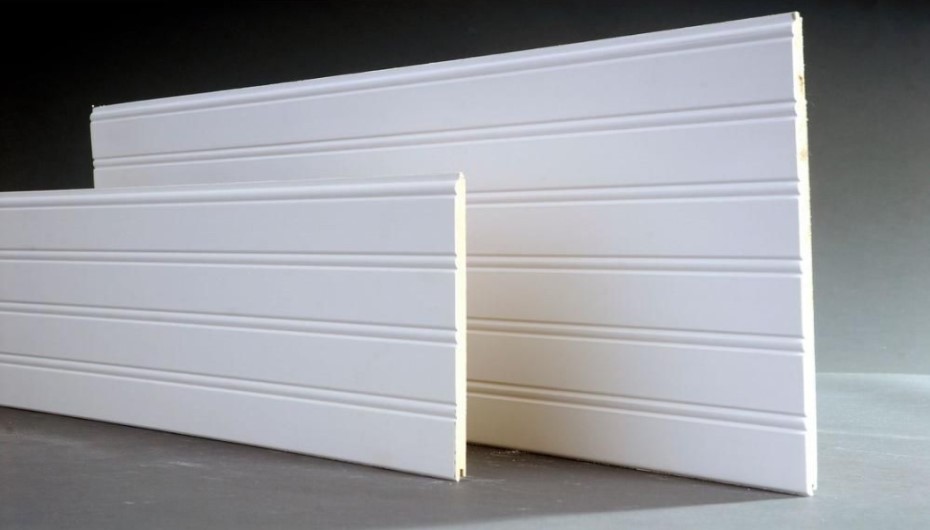
We bought five 4 x 8 feet beadboard panels for installation. After arranging all the necessary stuff at the house, we started to trim the panels. Our required height was 5 and a half feet for the panels. So we cut them down accordingly.
3. Trim Work
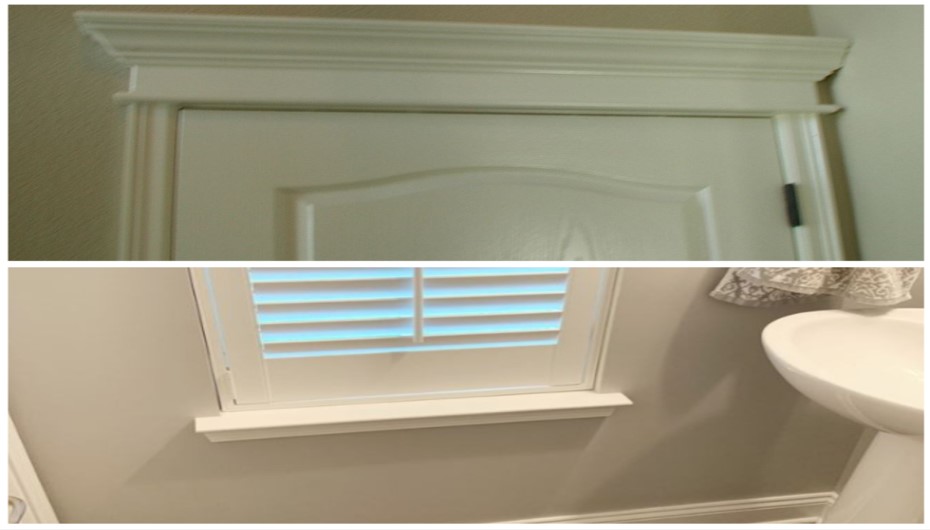
It is important to think about the trim before wainscoting installation. If you have the desired trim you can skip this step and jump to the next step to install wainscoting in bathroom. But we decided to replace the trim work too.
Our bathroom window size was different. Its window had a tiny ledge with no trim around the rest. Plus, the trim around the doorways was also thin. So, we replaced new baseboards and for door and window.
4. Beadboard Panelling Installation
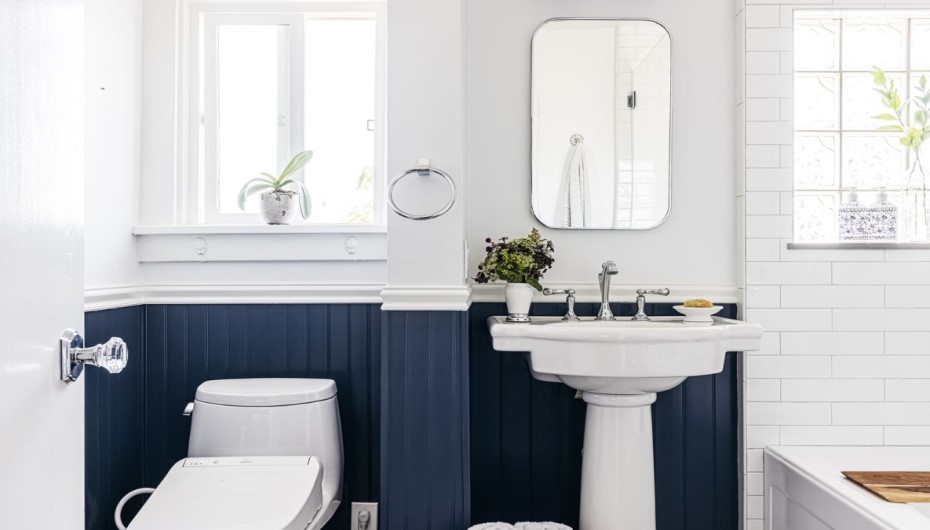
We had already cut our beadboard panels to fit. Now, we moved to the wall to find studs. We used a stud finder to find studs in the wall and attached most of the beadboard to the studs.
After that, We used our cordless drill to make a small hole and screwed the beadboard to the wall using trim head screws. These screw heads are easy to cover up due to the small head size.
There were some points on the wall with no studs so we had to use small nails and liquid nails there.
5. Cutting Around The Objects
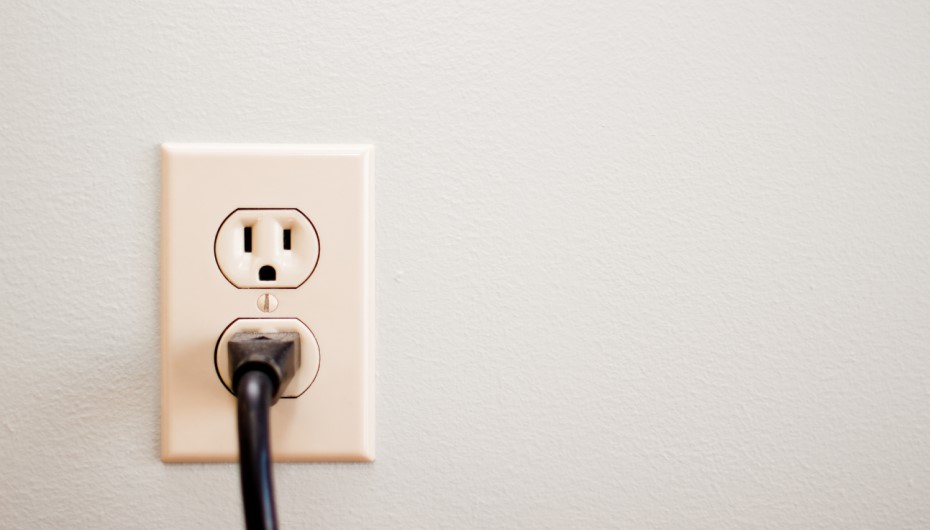
Regarding cutting extra beadboard panels, We also had to do some more cuttings for electrical boards, switches, plumbing items, etc. We measured the sizes very carefully and marked them. We used a multi-master flush cut tool for these cuttings.
Cutting around the object is very tricky if you install wainscoting in bathroom. You have to be more careful while doing this. We also cut down a shorter piece of beadboard wainscoting to use underneath the window.
We used the Kreg Rip-Cut Circular Saw guide with a circular saw for long and straight cuts in certain spots. We simply adjusted our required measurements on the board and cut it down to fit it well on the wall.
6. Filling Screw Holes And Nails
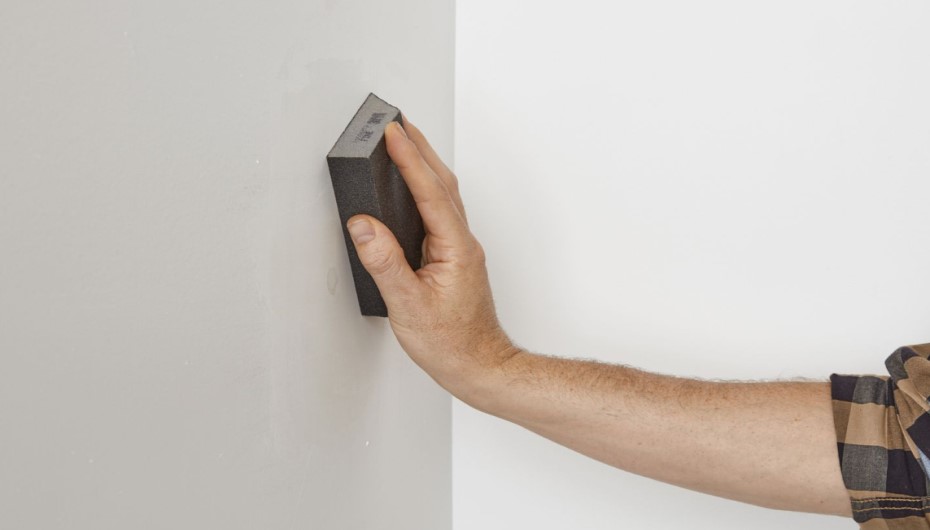
Now we had attached all the beadboard panels to the wall, it was time to patch all the nail and screw holes. For this purpose, we used wood filler to fill all the patches even the larger gaps.
After that, we used a sander to make the surface smooth and flat. This process made the bathroom quite dirty. So, I cleaned each and everything by using a duster before going to the next step. Remember, this is an important step in DIY wainscoting bathroom.
7. Caulking
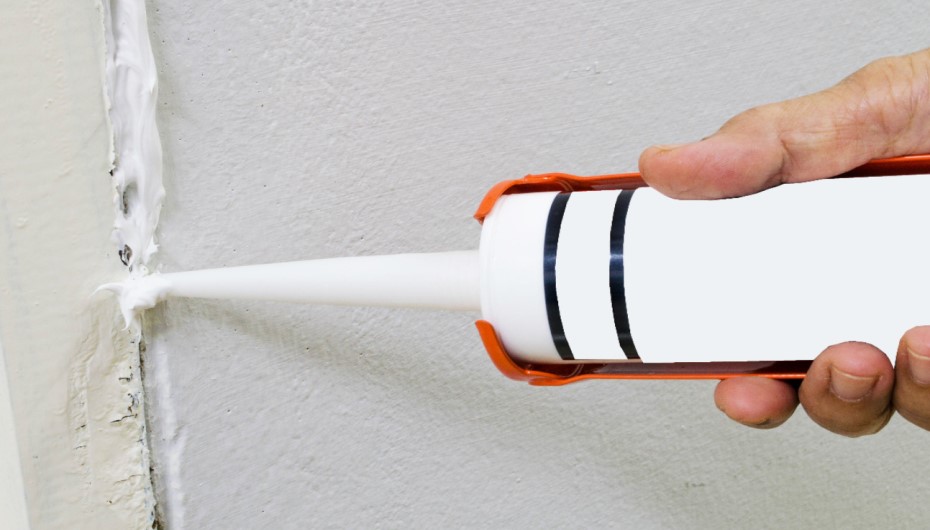
Now we had to fill the remaining gaps with caulk. I filled every gap that was on baseboards, corners, window frames, or around the door. I simply put a little bit of caulk in the gap and used my finger to make it smooth and fill the whole gap. The caulking made the beadboard look really smooth.
8. Painting The Beadboards
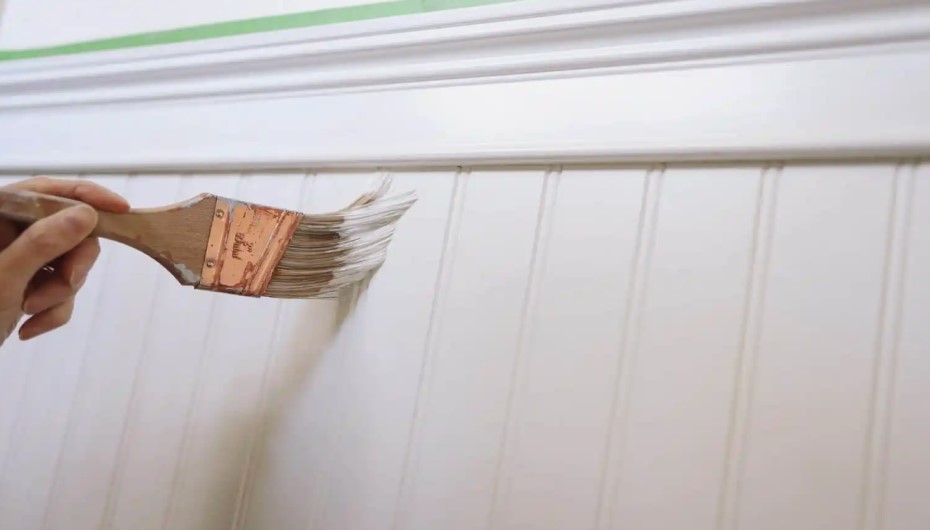
As we all know painting is an easy task to do. But you have to be careful while painting the beadboard because they have small dips and cavities. We used tape & drape to cover the strip of wood and a plastic sheet on the floor. After that, Adam used a paintbrush to paint small spaces. Then, I used a roller to paint over the entire beadboard wall.
9. Attaching The Top Trim Pieces
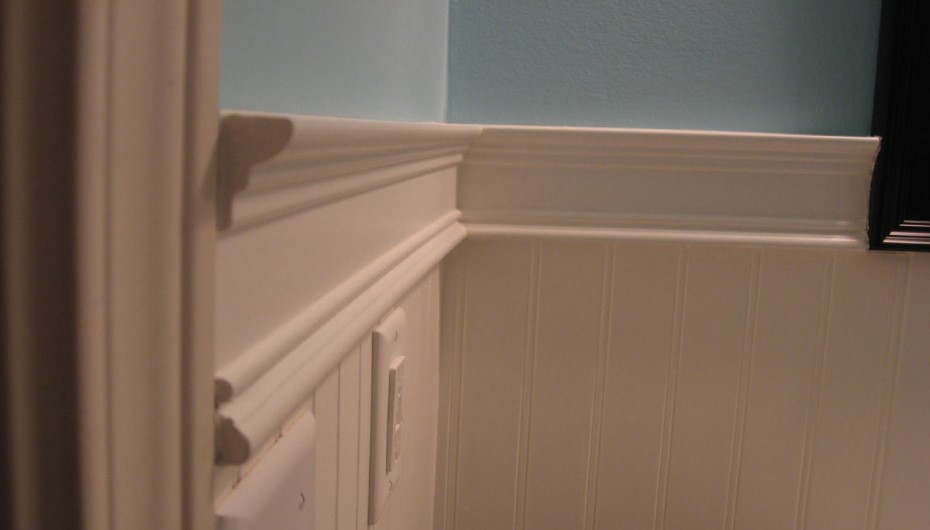
The next step was to install the top trim pieces to the wainscoting. For this purpose, we joined a regular 1×4 piece of wood with a header stop piece. But first, we painted the top trim pieces before attaching them to the wall. We also filled the space where the beadboard panel and trim piece met with caulk. After giving it some time to dry, we painted it over too.
Remember If you are using a nail gun to attach the trim pieces to the walls, You also have to fill those holes with wood filler and paint.
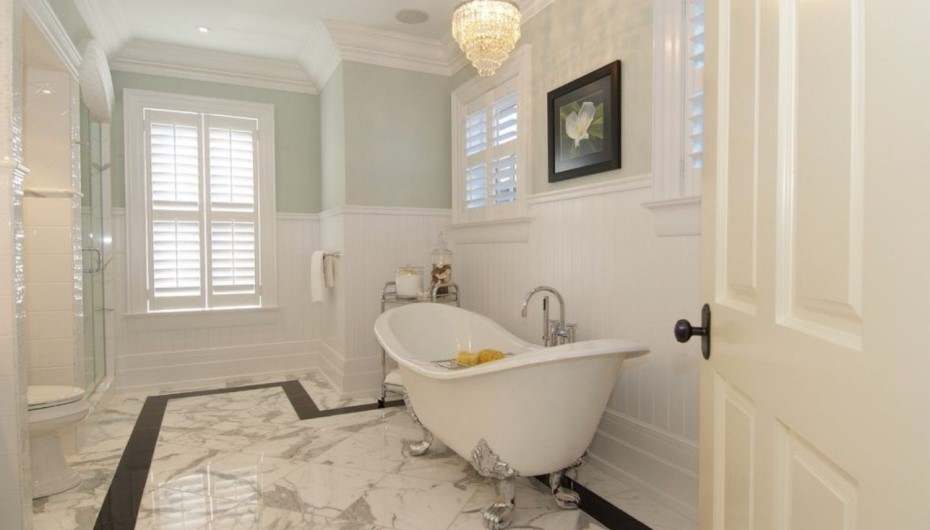
Wainscoting installation is a process that can revive your walls and beautify your space, especially in bathrooms. Bathroom decor is a must-have thing to focus on when discussing architectural styles. Covering Beaboards in the bathroom adds a nice touch to the room’s beauty. I have an amazing experience regarding installing wainscoting in the bathroom with my friend Adam.
Read More Helpful Topics:
