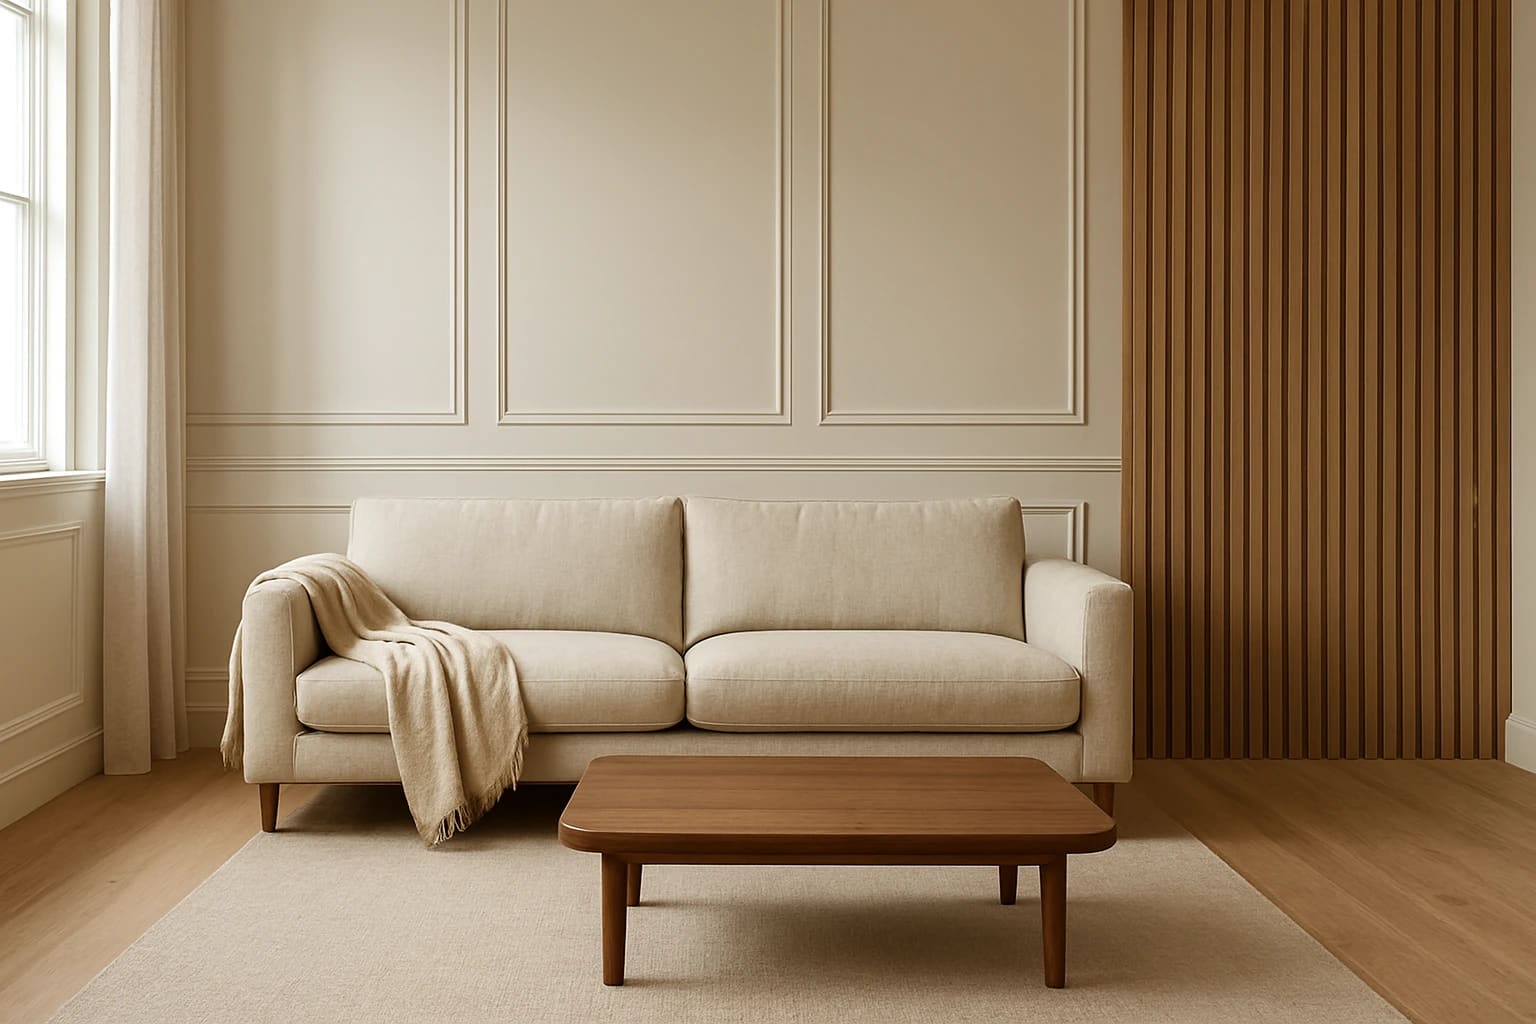
Stylish living room wall panelling can range from simple painted frames and half-height boards to oak slats, fluted panels and built-in storage walls. The best choice depends on your room's size, daylight, furniture and wall condition, rather than the pattern alone. These 25 ideas explain where each design works, what can go wrong and how to plan a finish that suits your home.
Classic Painted Panelling Ideas That Suit Everyday Living Rooms
Painted wall panelling works well when you want detail without adding another wood finish to the room. Plan the pattern around your doors, sofa and fireplace first, because even well-made panels can look awkward when their lines clash with those features.
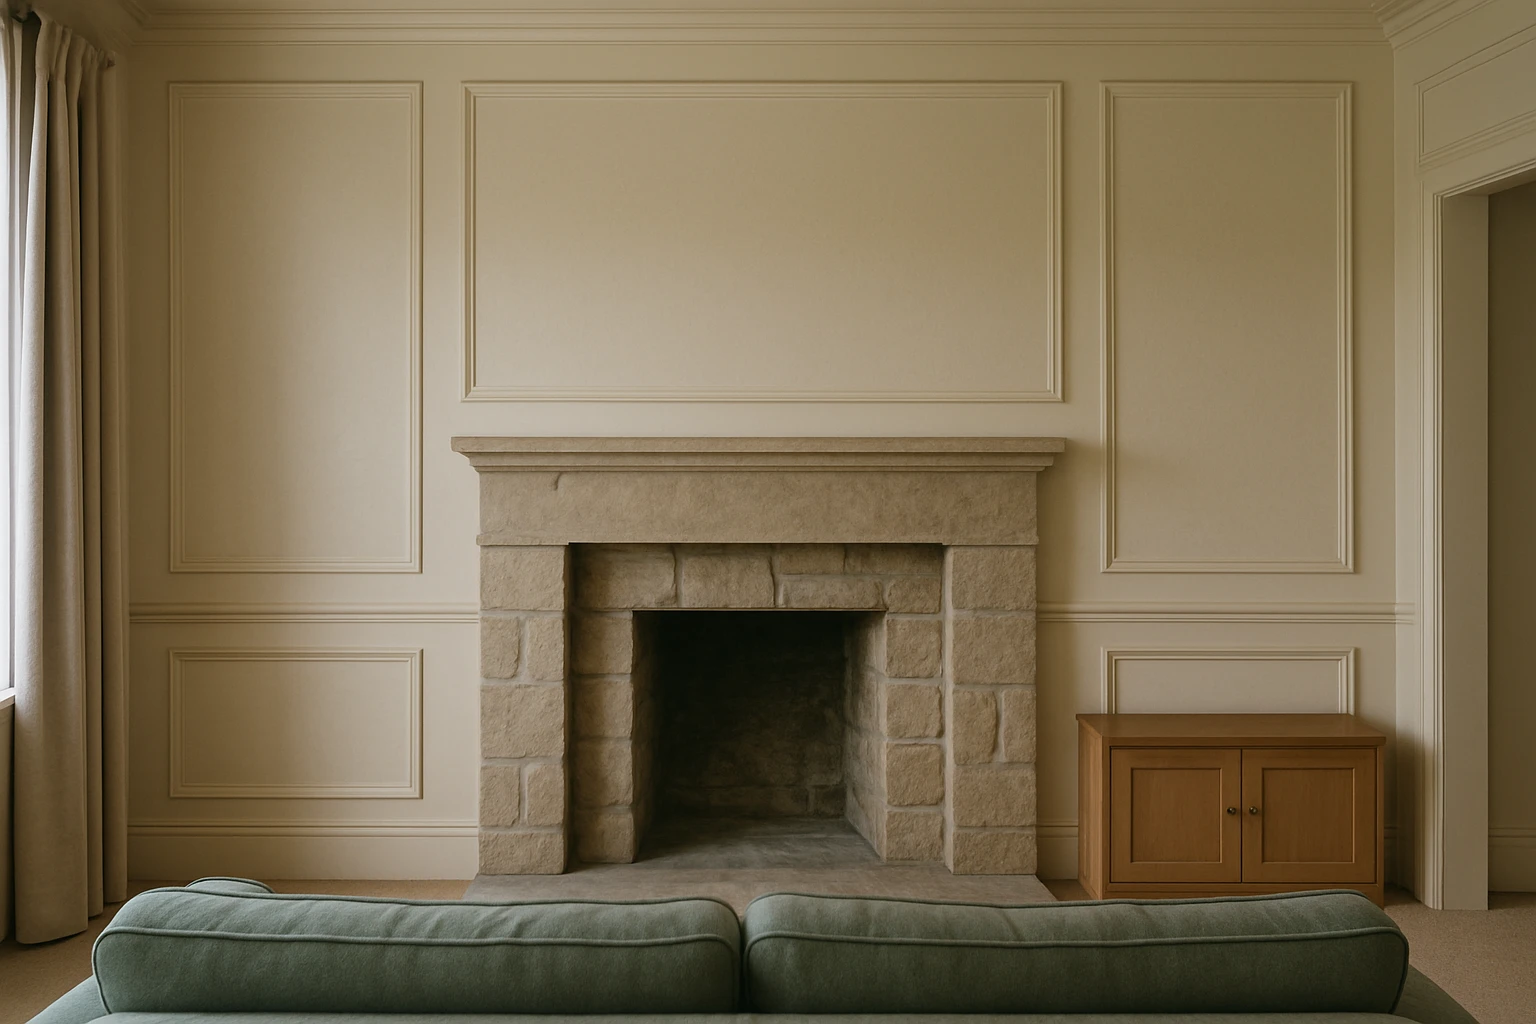
At Style of Home, the focus is on thoughtful design, room by room. For panelling, that means choosing a design that still looks right once the sofa, curtains and everyday storage are in place, not just on an empty wall.
1. Simple Picture-Frame Moulding
Picture-frame moulding uses narrow strips to form empty rectangles on the wall, so you get a panelled look without covering the whole surface. It is a good choice for a sound, fairly flat wall and a modest materials budget.
Keep the frames clear of door trim and corners, with consistent gaps between them. A common mistake is copying a layout from a much wider room, which leaves narrow, squeezed frames beside the doors. Use fewer, wider rectangles instead.
2. Full-Height Shaker Panels
Shaker-style wall panelling uses plain vertical and horizontal strips to create a clean grid. Larger rectangles suit a living room with simple furniture, while a tight grid adds more visual detail and can compete with patterned rugs or curtains.
Plan the top rail before fitting the vertical strips, especially if the ceiling slopes slightly. A level rail with a carefully finished gap above it usually looks better than a grid that follows an uneven ceiling.
3. Half-Height Panelling with a Painted Wall Above
Half-height panelling gives the lower wall a tougher, more detailed finish while leaving space above for art or colour. Start by testing a top edge around 900 to 1,100 mm from the floor, then adjust it to suit your sofa, windows and room height.
These are starting dimensions, not a fixed rule. Avoid placing the cap rail almost level with the sofa back, because two lines sitting just apart can look accidental. Let the rail sit clearly above it or choose another height.
4. Board and Batten in a Single Colour
Board and batten uses vertical strips over a flat backing to create broad, simple panels. Painting the backing, strips and top rail the same colour keeps the effect calm, which helps in a family living room with books, toys and mixed furniture.
If the existing wall is smooth, it may serve as the backing. Rough plaster or textured wallpaper will still show between the battens, so prepare the surface or add a suitable sheet backing before fitting the strips.
5. Double Frames for a Formal Feature Wall
Double-frame moulding places a smaller rectangle inside a larger one, giving a plain wall more depth. It works best behind a sofa or along a clear wall where the full pattern remains visible.
Use a simple profile if your room already has a detailed cornice, fireplace or ceiling rose. Too many deep mouldings can make the wall feel crowded. For help balancing these fixed features, browse the interior design ideas, layouts and finishes before choosing the trim.
Wood Wall Panelling Ideas with Warmth and Texture
Wood wall panelling adds warmth, but its tone matters as much as its pattern. Compare samples with the floor and furniture in daylight, because yellow oak, red-toned timber and grey flooring can clash even when each looks good on its own.
6. Vertical Oak Slats Behind the Sofa
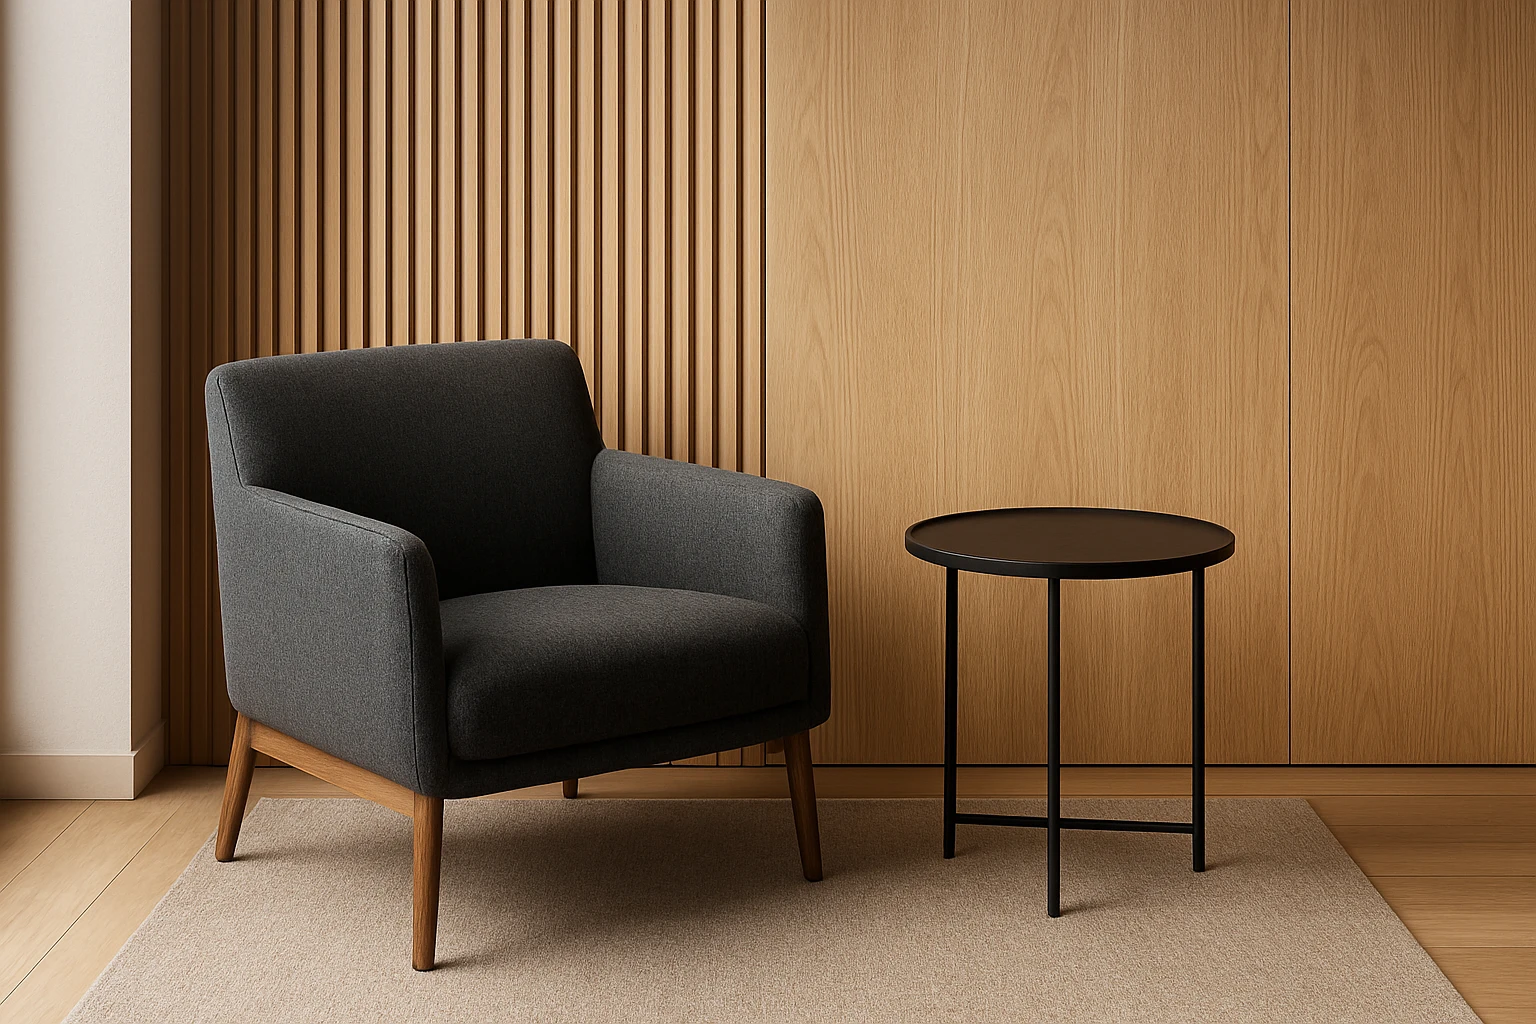
Vertical oak slats create a strong pattern on a plain sofa wall and suit rooms with simple shapes. A narrow section can be enough, especially when the floor already has a bold wood grain.
Check where the slat edges will fall before buying ready-made panels. A thin leftover strip at one corner can spoil the whole wall. Also check the backing colour, since black felt creates a much stronger striped effect than a backing close to the wood tone.
7. Wide Oak Veneer Panels
Oak veneer is a thin layer of real wood fixed to a backing board, which gives broad panels a natural grain without using solid timber throughout. It suits a calm, modern room where narrow slats would feel too busy.
Ask how the sheets will be arranged side by side, because grain direction and colour can change from panel to panel. View the proposed order before fitting, and plan exposed edges carefully so the backing board is not visible at the side of the wall.
8. Horizontal Timber Boards
Horizontal boards draw attention across a wall and can make a narrow seating area feel broader. Keep the finish close to the floor colour for a gentle effect, or use a painted finish if the room already contains several kinds of wood.
The first board must be level rather than simply resting on the skirting. Small errors build up across the wall, and a rising board line becomes obvious beside a level windowsill or media unit.
9. Herringbone Wood Panelling
Herringbone uses short boards laid in a repeating zigzag, creating a clear focal point without added artwork. Use it on one uncluttered wall rather than wrapping it around the whole room.
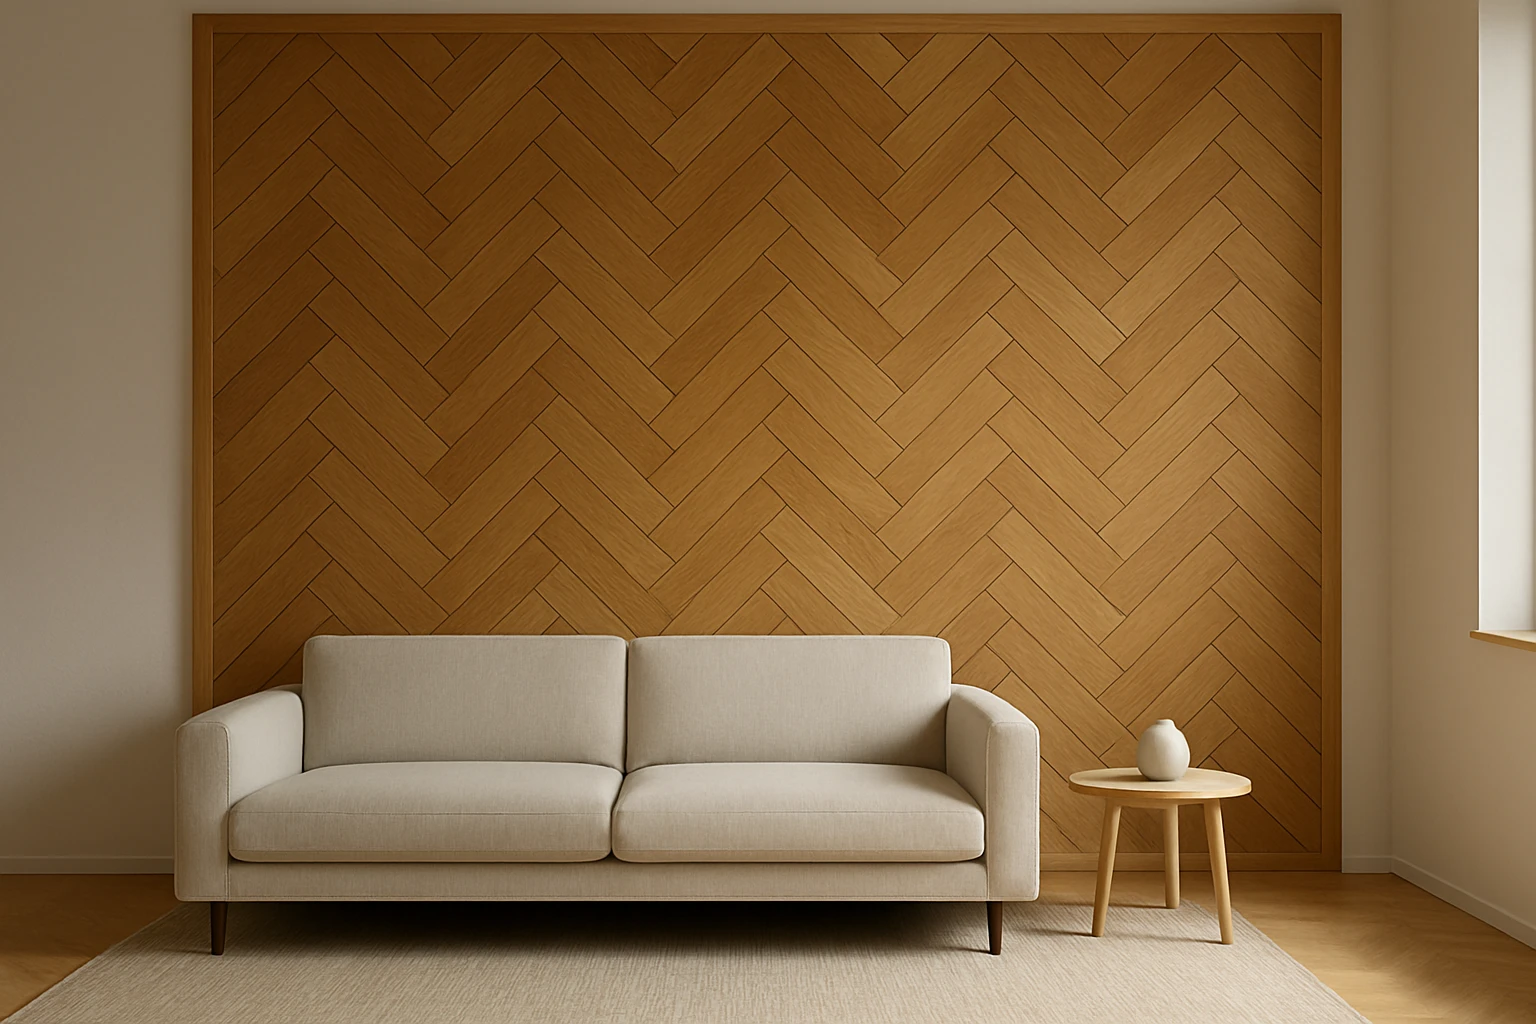
Plan the centreline and edge cuts on paper before fitting. Starting from one corner can leave tiny triangular cuts at the far side, while a centred layout gives both edges a more balanced finish. Allow extra material for angled cuts, following the supplier's layout advice.
10. Dark Walnut Panels in a Light Room
Walnut panels bring depth to a room with pale upholstery, light walls and good daylight. They work particularly well behind low furniture, where a broad stretch of grain can remain visible.
In a dim room, try walnut on a smaller wall rather than every surface. Keep the ceiling light and leave some pale wall space so the room does not feel too dark. The living room design guides can help you judge how a dark feature wall will look with the rest of your seating area.
Textured and Colourful Panelling Ideas
Textured panels work best when light can reveal their shape, while painted panels depend on a colour that suits the room throughout the day. Test both a material sample and a large paint sample where the finished wall will be, not beside a shop display.
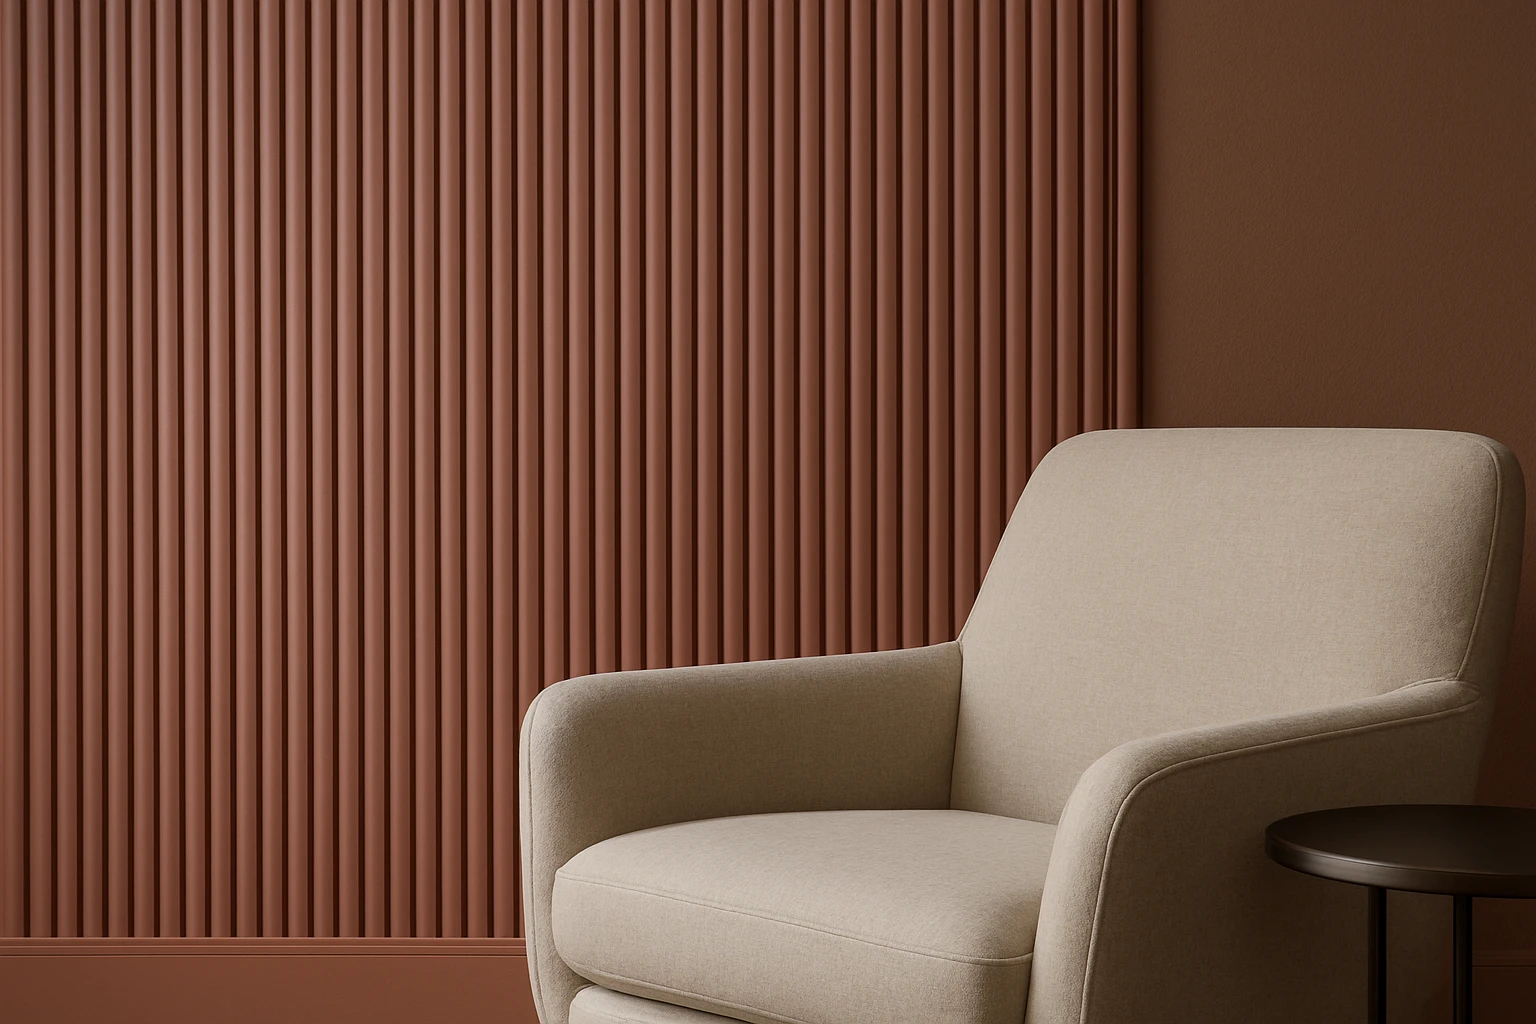
11. Fine Reeded Panels
Reeded panels have narrow rounded ridges, giving a wall a softer texture than square-edged slats. They suit a small feature area, such as the wall behind an armchair or the front of a built-in cupboard.
Fine grooves collect dust and take longer to paint than a flat surface, so choose a factory-finished product if easy upkeep matters. Inspect a full-size sample where possible, because a small swatch can hide how busy the repeated pattern looks across a whole wall.
12. Broad Fluted Panels
Broad fluted panels use wider channels, which create stronger shadows and a more sculpted look. They suit a simple room with few competing patterns, especially where daylight reaches the wall from the side.
Check the ends and corners before ordering, since the shaped face often needs matching trim. Cutting a panel through the middle of a flute can leave an awkward edge, so set out full widths first and decide where any cut panels will be least noticeable.
13. Beadboard for a Relaxed Living Room
Beadboard has narrow vertical boards or grooves with a small rounded detail between them. It adds gentle texture to a cottage-style or relaxed living room without the strong contrast of dark-backed slats.
Use it at half height when a full wall would feel too busy. Where boards meet a window or door, finish them with suitable trim rather than leaving exposed cut edges. Painted grooves also need light coats, because heavy paint can soften the detail.
14. Colour-Drenched Wall Panels
Colour drenching means painting the walls and related trim in the same colour, and sometimes carrying it onto the ceiling. On a panelled wall, it lets shadows define the pattern rather than using a contrasting paint shade.
A matt or low-sheen finish can soften small surface flaws, while a glossier finish makes uneven joints easier to see. Check the product's cleaning guidance too, since sheen alone does not tell you how washable a paint is. Use the colour and paint guides to build a palette around the room's daylight and fixed finishes.
15. Two-Tone Panelling with a Clear Colour Break
Two-tone panelling pairs one shade below the rail with another above it, giving the room a clear horizontal line. A darker lower section can help pale furniture stand out, while a softer contrast keeps a small room calmer.
Place the paint break on a trim edge instead of stopping partway across a flat board. Test both colours together, because a warm cream above a cool grey can make the grey look blue. Keep other strong horizontal lines to a minimum.
Panelling Ideas for Small Rooms, Alcoves and Awkward Walls
Small living rooms usually benefit from shallow panels and a simple layout, while awkward walls need careful planning around what cannot move. The aim is to make the room's shape look deliberate rather than cover every spare surface with a pattern.
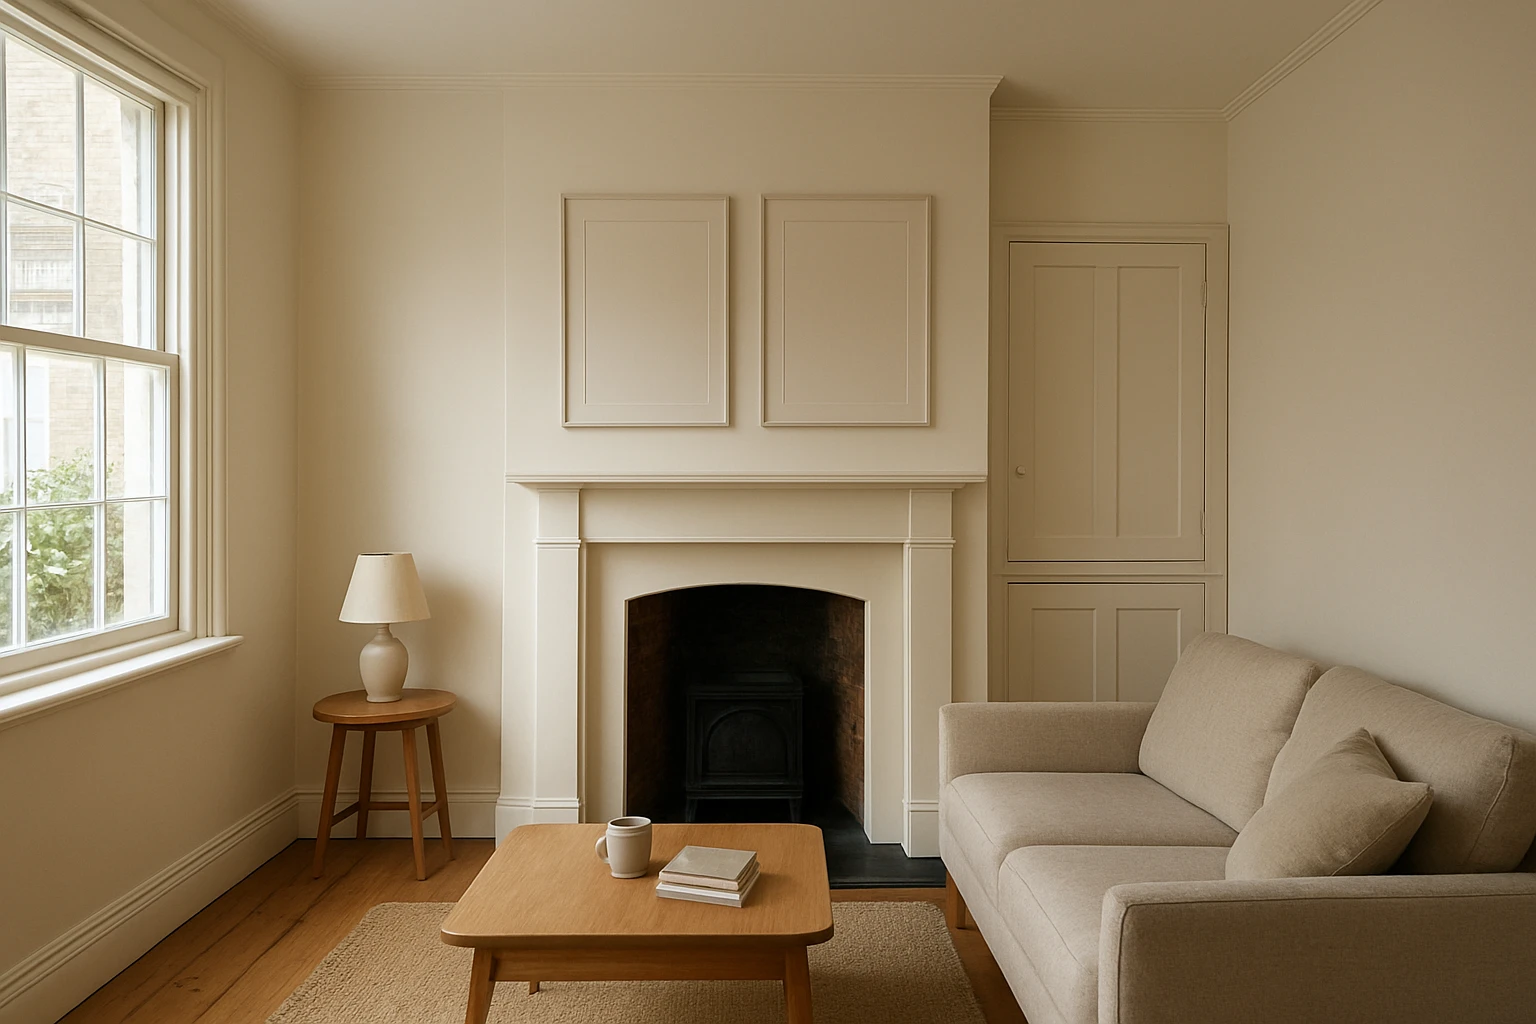
16. Slim Mouldings for a Small Living Room
Slim surface mouldings add detail while taking up very little floor space, making them useful behind a sofa in a narrow room. Choose a few generous frames rather than a dense grid of small boxes.
Measure the total thickness before fitting any wall covering. For example, a 25 mm build-up along a 4 m wall uses 0.1 square metres of floor area, but the more noticeable issue may be a cupboard door, radiator valve or sofa that no longer fits comfortably.
17. Panelling That Frames One Large Artwork
A large panel can act as a quiet border around a painting or print, which works well when several small frames would make the wall feel crowded. Choose the artwork size first, then set the moulding around it.
Leave a clear band of plain wall between the picture and the moulding so neither looks squeezed in. Plan the fixing position before the panels go up, and use fixings suitable for the wall behind them. The wall art guides offer more help with scale and placement.
18. Different Panel Widths Around a Chimney Breast
A chimney breast often divides a living room into unequal sections, so matching every panel width may not be possible. Keep the trim profile, top rail and gaps consistent, then let the panel widths change to suit each area.
This usually looks calmer than forcing narrow strips into the alcoves. Keep combustible boards, adhesives and trims outside the clearances required by the fireplace or stove manufacturer, and do not assume a decorative panel is suitable beside a heat source.
19. a Panelled Window Bench
A panelled bench front carries the wall detail into a useful seat or storage area. It works well under a window where full-height panelling would be broken up by the opening.
Plan the lid, cushion and window handle together, since a thick seat cushion can block access to the handle. If there is a radiator beneath the window, do not box it in without a suitable design that allows heat to escape and keeps valves accessible.
20. Curved Panelling Around an Awkward Corner
Curved panelling can soften a projecting corner or wrap around a rounded wall, but it needs a product made for the required bend. Standard rigid boards may crack, spring back or pull away from the backing.
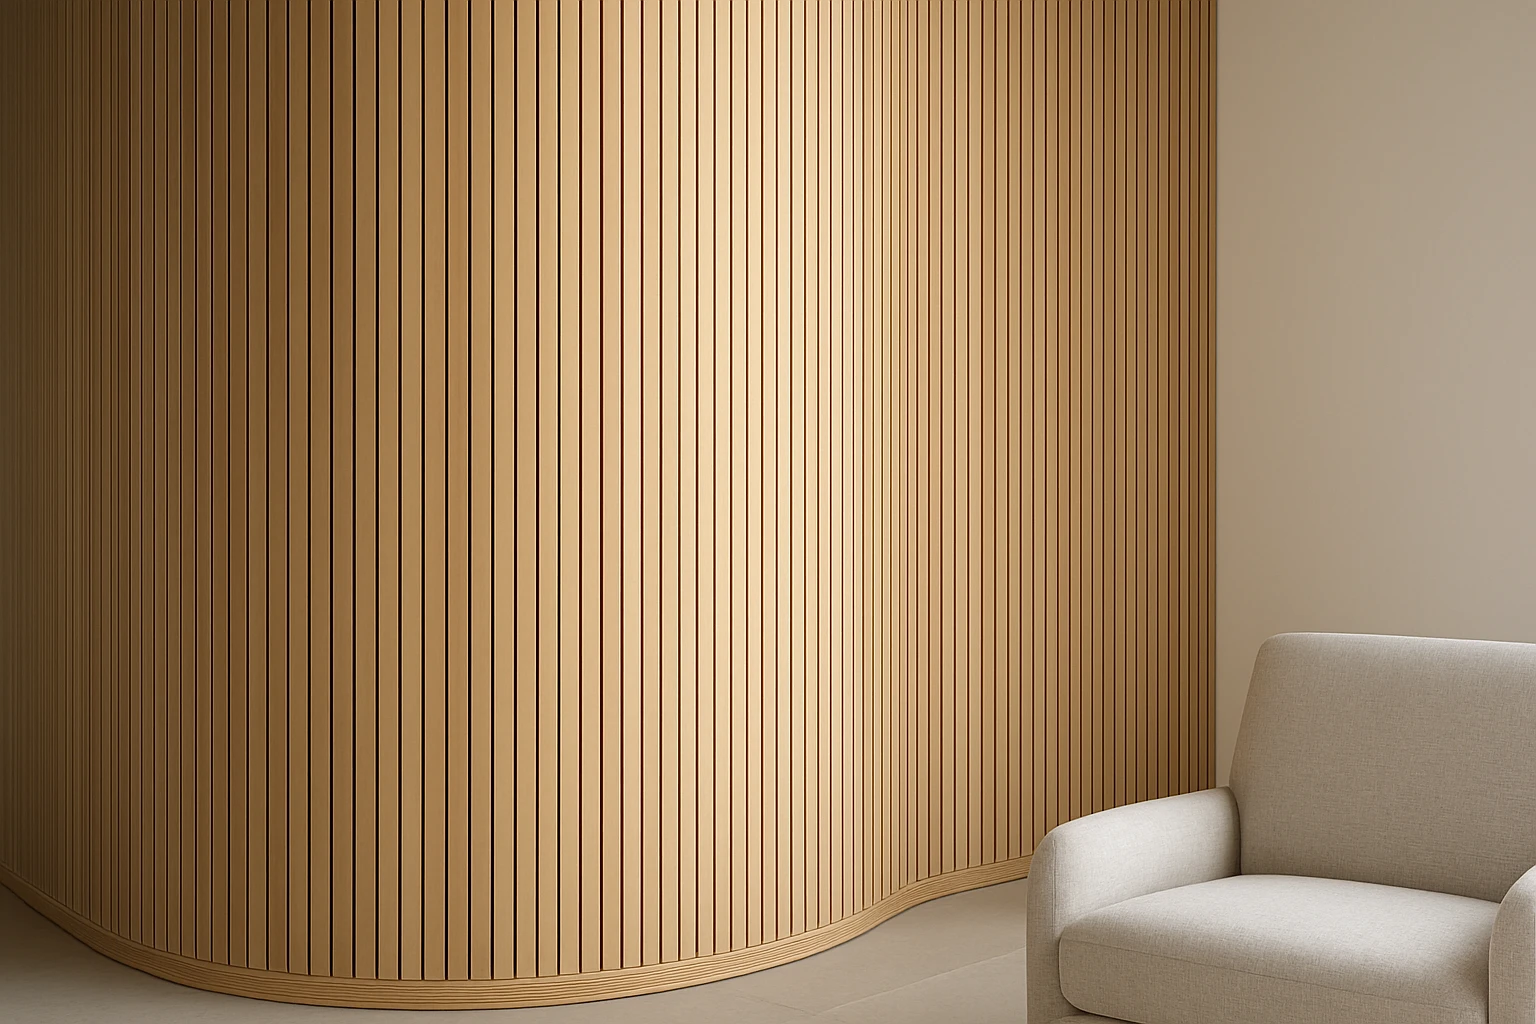
Check the maker's minimum bend radius, which is the tightest curve the product can safely follow. Test a sample on the actual shape before ordering, and agree how the curved section will meet the flat wall so the joint does not become the main feature.
Panelling Ideas with Storage, Lighting and Mixed Finishes
Panelling can hide storage and wiring, but those features need to be planned before the wall is closed up. Decide where doors, cables, fittings and access points will go first, then build the decorative pattern around them.
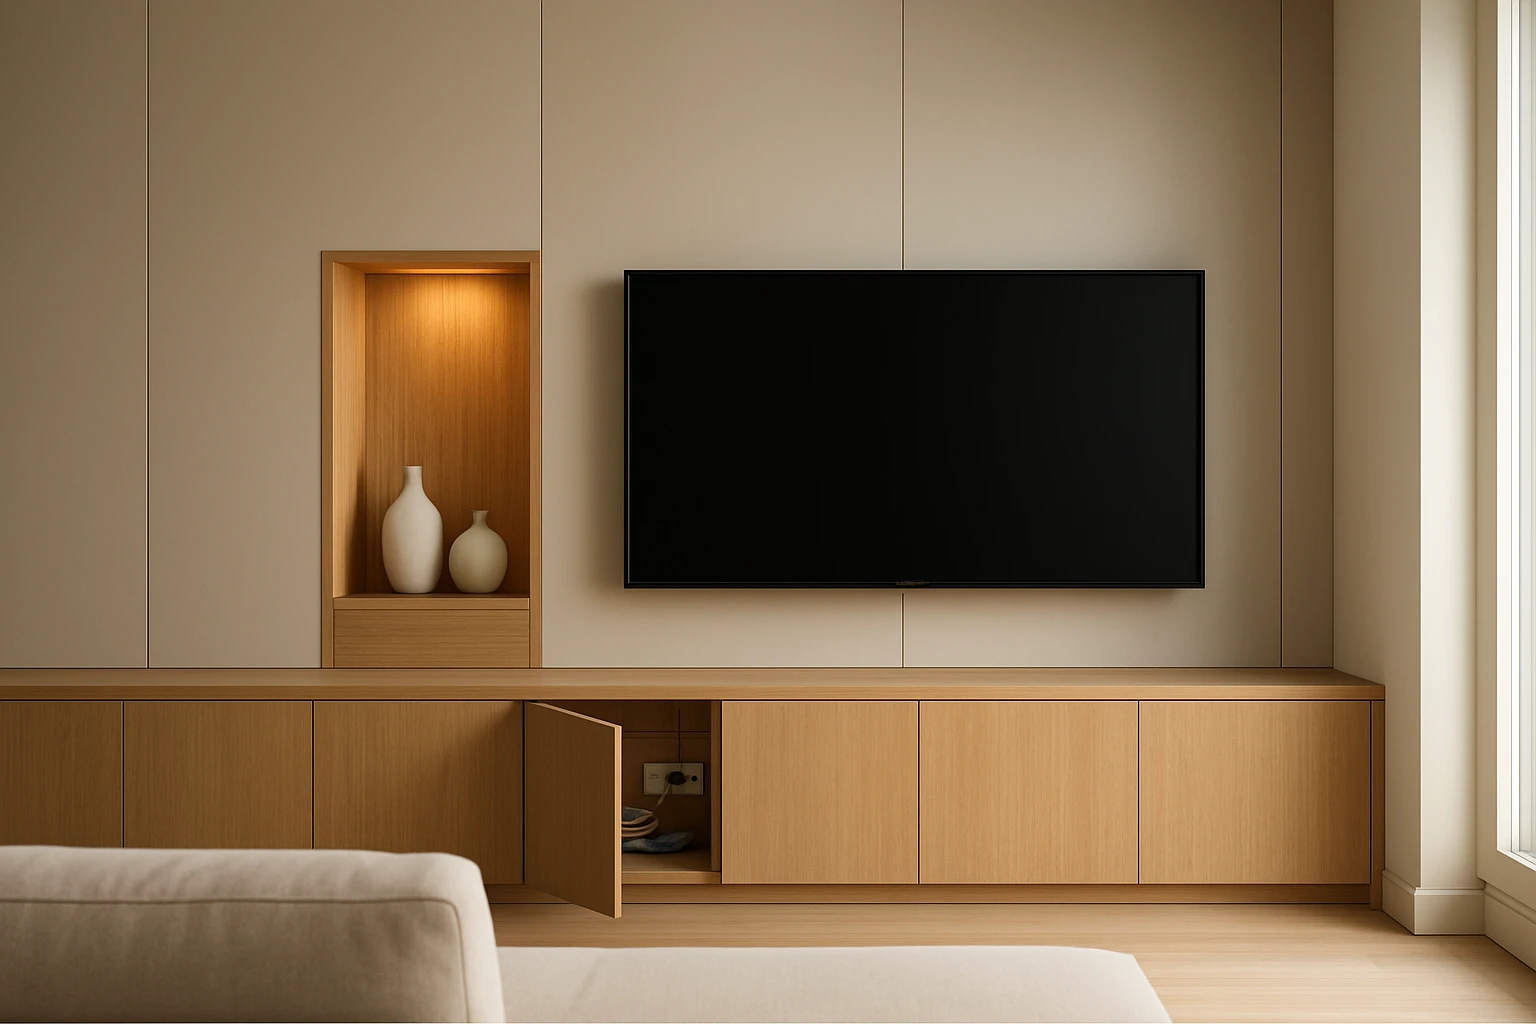
21. a Panelled TV Wall with Hidden Cables
A panelled TV wall looks tidier when sockets and cable routes are set out around the actual screen and bracket. Choose the viewing height from the sofa first, rather than centring the TV within a decorative panel.
The bracket must be secured to suitable masonry or structural backing, not just thin cladding. Leave a route for replacing cables and keep access to sockets. If a media unit contains equipment, allow the ventilation it needs rather than sealing every gap for a cleaner appearance.
22. Storage Doors Hidden Within the Panel Pattern
Cupboard doors can blend into a panelled wall when the door edges follow the panel lines. This suits living rooms that need storage but do not have space for several freestanding units.
Choose the hinges and opening method before setting the panel spacing, because doors need clearance to swing without rubbing. Tall doors also need a stable construction to help prevent warping. The storage and organisation guides can help you decide what the cupboards need to hold before their size is fixed.
23. Upholstered Panels Behind a Reading Seat
Upholstered wall panels add a soft surface behind a reading chair or built-in seat. They work best as a small feature, where the fabric can tie in with the sofa or curtains without covering every wall.
Check the fabric's care instructions and any fire safety requirements that apply to the product and location. Soft panels may reduce some reflected sound, but they do not soundproof a room. Leave enough clearance around switches and keep fabric well away from hot fittings.
24. Wall Panels with Discreet Lighting
A wall light can bring out the depth of mouldings or slats, but light cast close along the surface also reveals uneven joints and rough paint. Fit a test light or use a movable lamp to check the effect before committing to the wiring position.
For LED strips, use a suitable channel and cover to avoid a row of visible dots, and keep the power supply accessible for replacement. Plan the effect with the room's other lamps using the lighting guides, rather than treating the panel lighting as the only light source.
25. Painted Panels Beside Wood or Stone
Mixed finishes work best when one material is the main feature and the others support it. A painted wall with one oak inset, or simple mouldings beside a stone fireplace, often feels more balanced than several bold finishes competing across the same wall.
Keep the join simple and allow for the fixing and movement needs of each material. Heavy stone needs suitable support, while timber may need movement gaps. Use the home decor guides to tie the panel finish in with textiles, art and the rest of the room.
Which Wall Panelling Material Should You Choose?
Choose MDF for many painted designs, real wood or veneer when grain matters, and a product with suitable moisture resistance where conditions demand it. No decorative panel should be used to hide damp, loose plaster or an unresolved leak.
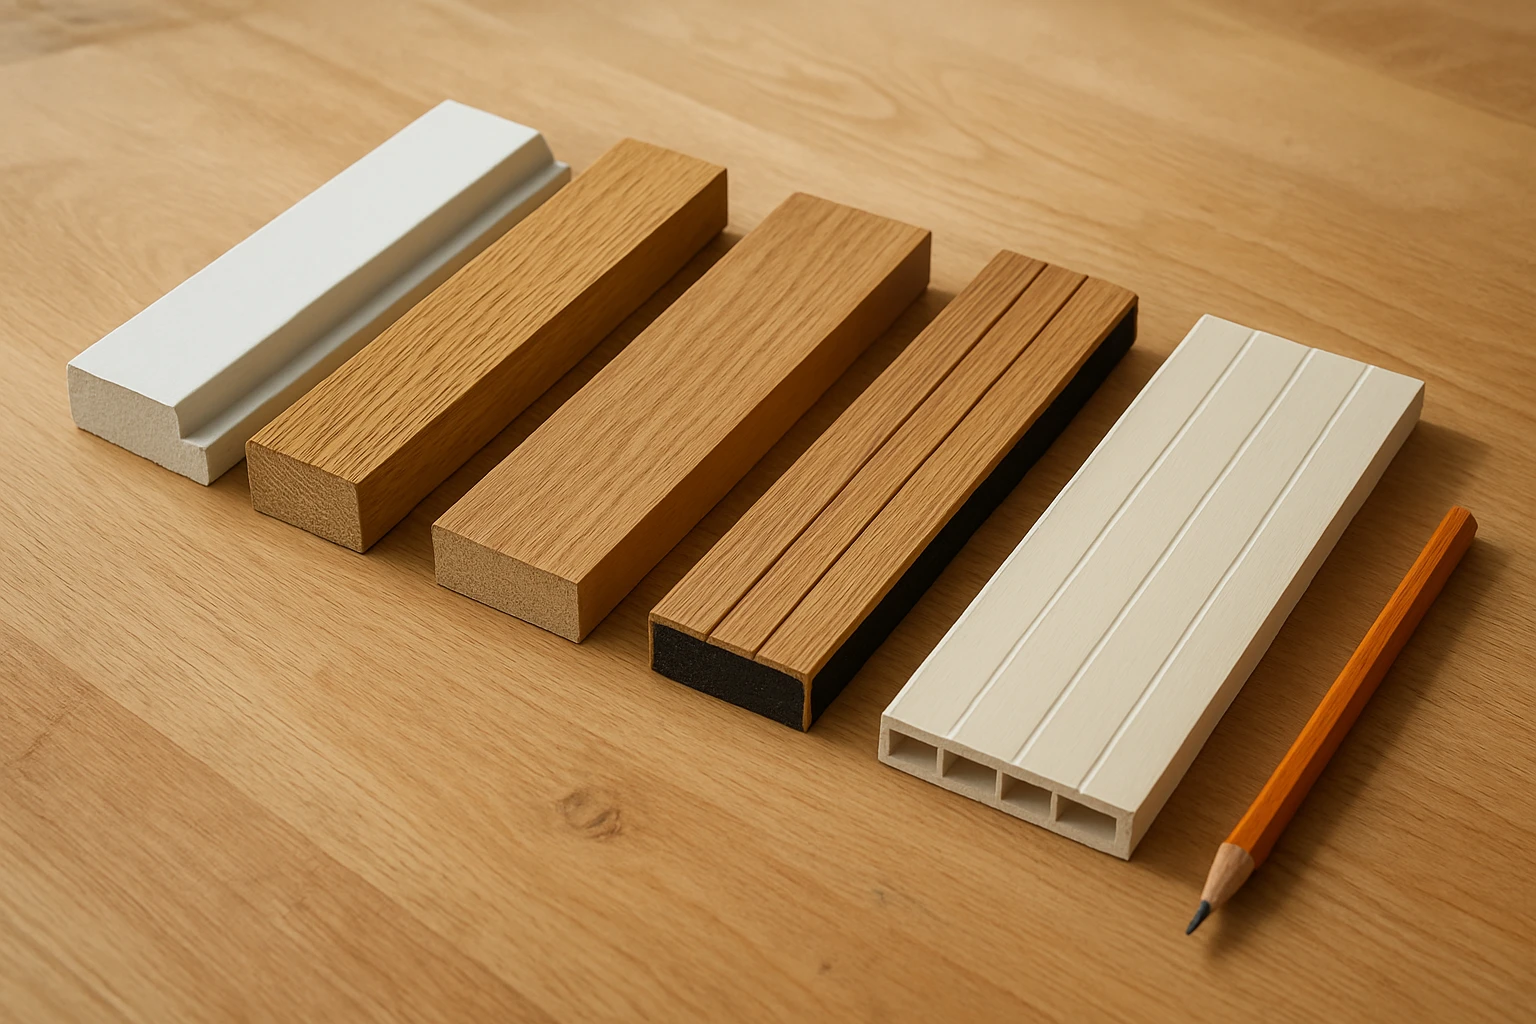
The rough UK prices below are for materials only and are not quotations. The supplier, board thickness, panel size and finish can all affect the price, and adhesive, trim, paint, delivery and fitting may cost extra. Layouts with widely spaced mouldings are not directly comparable with products that cover the entire wall.
| Material or System | Best Use | Main Limitation | Approximate Material Cost |
|---|---|---|---|
| MDF strips or simple panel kits | Painted frames, Shaker grids and half-height walls | Cut edges need sealing, and standard MDF is vulnerable to moisture | Roughly £15 to £40 per square metre of wall for a simple layout |
| MDF-backed decorative slat panels | A quick textured feature wall | Exposed edges and joins need planning | Roughly £40 to £120 per square metre |
| Real wood veneer panels | Broad panels with natural grain | Thin veneer limits sanding and needs careful edge finishing | Roughly £60 to £150 per square metre |
| Solid timber boards | Natural texture and finishes that can often be renewed | Seasonal movement and higher material cost | Roughly £80 to £200 or more per square metre |
| PVC panels | Selected easy-clean applications | Appearance, heat limits and fire performance vary by product | Roughly £25 to £70 per square metre |
Moisture-resistant MDF is not waterproof, and a water-resistant panel face does not protect the wall behind it from trapped moisture. If an external wall feels damp or has mould, find and fix the cause before choosing a covering.
For a TV wall, radiator surround or fireplace area, check the full product details, including the backing and adhesive. A timber-faced panel may contain MDF, felt or another material that affects where it can safely be used.
Do Acoustic Slat Panels Actually Help?
Acoustic slat panels can reduce some echo when they include a suitable sound-absorbing backing and are installed as tested. Do not assume that decorative wooden slats fixed straight onto a hard wall will give the same result.
Ask for the manufacturer's sound-absorption test data and the exact fitting method used in the test. An air gap or extra absorbent material may be part of that setup. Reducing echo inside your living room is different from blocking a neighbour's TV through a shared wall, which usually needs more than decorative panels.
How to Plan and Fit Living Room Wall Panelling
Plan the whole wall before cutting any strips, including sockets, furniture and the way each edge will finish. A taped-out layout is far cheaper to change than fitted panels, and it often reveals problems that a small sketch misses.
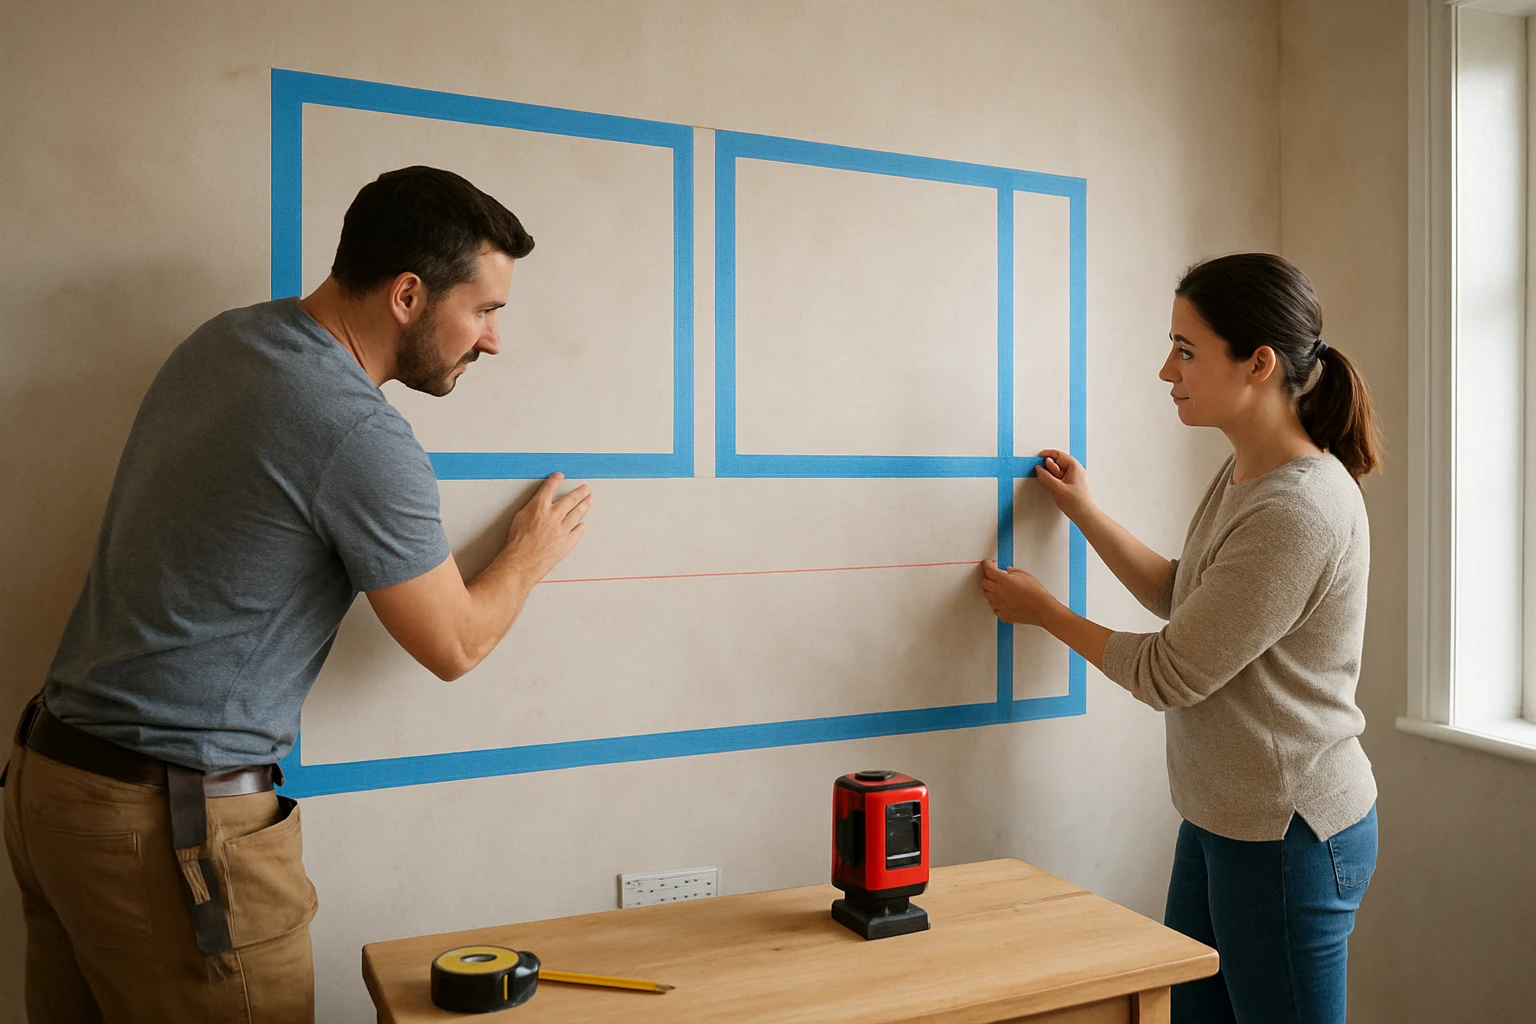
Set Out the Panel Sizes Before Buying
Measure the wall at several points, since floors, ceilings and corners are not always straight. Draw the wall as seen from the front and add door trim, sockets, switches, radiators and the furniture that will sit against it.
For example, imagine a 3,600 mm-wide wall with three picture frames. If you leave 150 mm at each outer edge and 100 mm between the frames, you have 3,100 mm for the three frame widths, or about 1,033 mm each. Those widths are measured to the outside edges of the mouldings, so remember that the clear space inside each frame will be smaller.
Tape the layout onto the wall and view it from the doorway and sofa. The room planners are useful for checking furniture clearance before a new wall finish makes the room slightly smaller.
Follow a Safe Fitting Order
Simple surface mouldings may suit a careful DIY project, but heavy panels, complex joinery and electrical changes often need a skilled tradesperson. The exact fixing method depends on the wall and product, so follow the manufacturer's instructions rather than using one method for every material.
- Check the wall for damp, loose plaster and weak paint, then repair the cause of any damage before covering it.
- Locate cables and pipes before drilling. Do not rely only on where you expect them to run, especially in older homes.
- Check product storage and acclimatisation instructions, which explain how the material should adjust to the room before fitting.
- Mark a level reference line and confirm the full layout, including the width of every strip and how you will finish exposed edges.
- Cut and dry-fit the pieces before fixing them, then use adhesive and mechanical fixings suited to the panel and wall.
- Fill suitable joints, seal MDF edges and prepare the surface as the paint or panel maker directs. Keep any required movement gaps clear.
- Finish the wall and refit accessories, with electrical work handled by a qualified electrician where required.
Do not bury socket boxes behind the new wall finish or leave sockets and switches loose against thick cladding. An electrician can assess whether the boxes need extending or moving. For more project planning help, use the home buying guides and how-tos before ordering materials.
Budget for the Parts That Are Easy to Miss
The panel price is only part of the cost, especially for a painted wall. Include surface repairs, adhesive, fixings, edge trims, primer, topcoats and any changes to sockets, skirting or radiator fittings.
As a simple materials example, a 4 m-wide wall with panelling 1.1 m high covers 4.4 square metres. At an assumed £25 per square metre, the panel material would cost £110 before extras. This is a budgeting example, not a supplier price, and you should round purchases up to full packs and add the cutting allowance required by the chosen layout.
Ask for fitting quotes that state what preparation, painting and waste removal are included. A low quote for fixing boards alone is not comparable with a quote that includes a finished, painted wall.
Choose the Design That Solves Your Room's Main Problem
For a small or busy living room, shallow picture-frame mouldings in the wall colour are a sensible starting point. For a plain room that needs warmth, try one oak feature wall, and for a room short of storage, plan the cupboards before choosing the panel pattern.
If you are unsure, test one full-size frame or a large panel sample in place for a few days. Check it in morning light, evening light and with the lamps on, because the design needs to work in the room you use, not just in a photograph.
Frequently Asked Questions
Can I Put Wall Panelling Over Wallpaper?
Wall panelling should usually be fixed to a sound, properly prepared wall rather than over wallpaper. Adhesive may bond to the paper while the paper itself pulls away from the plaster, leaving the panels loose. Strip the wallpaper, check the surface and follow the panel maker's fixing instructions, especially for heavy boards.
Is Removable Wall Panelling Suitable for a Rented Living Room?
Removable wall panelling may suit a rental, but it is not guaranteed to come off without damaging the paint or plaster. Get the landlord's written permission and check the fixing system on a small hidden area first. Lightweight freestanding decorative screens may be a safer choice when the tenancy does not allow wall changes.
How Do I Clean Dust from Slatted or Fluted Wall Panels?
Clean slatted or fluted wall panels with a soft brush attachment or a dry microfibre cloth, following the finish maker's care advice. Work along the grooves rather than scrubbing across delicate edges. Avoid soaking timber, MDF or felt backing, and test any cleaner on a hidden spot before treating marks.
Can Wall Panelling Be Removed Later?
Wall panelling can usually be removed, but adhesive-fixed panels may take paint or plaster away with them. Mechanically fixed panels can be easier to dismantle, though screw holes and wall repairs will still need attention. If future removal matters, discuss the fixing method before installation and keep spare paint for repairs.
Can I Mix Different Panelling Styles in Adjoining Rooms?
You can mix panelling styles in adjoining rooms if a few details connect them, such as paint colour, trim thickness or timber tone. Give each room a clear main pattern rather than changing styles several times within one space. At an open doorway, check the two designs together so their heights and edges do not look like near misses.