
One of the most common problems homeowners face in a house remodeling is removing old wallpaper. Whether you’re going to repaint your walls, hang new wallpaper, or simply jazz up a room, the first step is to remove the old wallpaper. The process can be challenging at first, but if it’s done the right way, it’s surprisingly easy and even rewarding.
Why Proper Wallpaper Removal Matters
One of the common wallpaper removal mistakes is painting directly over the wallpaper. This is generally not advisable. Paint can lead to bubbled, peeling, or wallpaper that comes away from the wall. Seams will also show through the new finish.
When you’re done taking down the wallpaper, you will have a nice, smooth surface. It lets fresh paint or wallpaper adhere and will last a lot longer. Correct removal will also allow you to see if there is any damage to the wall that requires repair prior to re-decorating.
Things to Know Before You Start
It’s a good idea to know two things before you start: What type of wallpaper you have and what type of wall is behind it. These factors determine which removal method will be best for you.
Types of Wallpaper
There are various types of wallpaper, and they all respond in different ways when it comes time to removing it:
- Strippable wallpaper: This is the simplest of all the wallpapers to take down. It should be able to come off in large flakes without the use of chemicals or water.
- Peelable wallpaper: The upper layer of wallpaper peels off easily, but a layer of paper is left on the wall. This backing should be taken off with water or a solution.
- Traditional pasted wallpaper: This older type is pasted directly to the wall and typically requires water, steam, or a chemical solution to remove.
- Vinyl or vinyl-coated wallpaper: This type of wallpaper is water-resistant on the surface, thus it needs to be scored first to let water in to get to the glue.
- Peel-and-stick wallpaper: A popular and simple choice these days that typically can be removed without any tools or solutions.
Types of Walls Underneath
The surface of the wall also has significance. Drywall is softer and more easily damaged, and is found in newer homes. Older houses have plaster walls, which are sturdier and more resistant to scratching, but may be more challenging to clean up.
Wallpaper that is installed over unsealed drywall can be a problem if it does not need to be removed. Extra patience is needed in these situations, or else the paper layer of the drywall will be ripped off.
Tools and Materials You Will Need
The entire process is quicker and cleaner with the right tools. The following is a full listing of items to collect before beginning:
- Wallpaper scoring tool
- Plastic or wide putty knife (avoid sharp metal edges)
- Pump sprayer or large spray bottle
- Drop cloths or plastic sheeting
- Painter’s tape
- Sponges and clean rags
- Bucket of warm water
- Rubber gloves and safety goggles
- Step ladder
- Trash bags
- Wallpaper remover solution, white vinegar, fabric softener, or dish soap
- Wallpaper steamer (optional, for stubborn jobs)
How to Prepare the Room
Preparation saves time and safeguards the home. Follow these tips before you start peeling wallpaper.
Step 1: Clear the room. Remove all furniture from the walls or from the room. Remove pictures, mirrors, curtains, and shelves.
Step 2: Floor protection. Cover the bottom of each wall with drop cloths or plastic sheeting. The wallpaper removal process is wet and dirty, and wallpaper with glue on it will be dropped on the floor.
Step 3: Turn off the power. Turn off the power to the room at the fuse box. It’s important because you will be using water close to outlets and switches.
Step 4: Cover outlets and switches. Take off cover plates and tape openings with painter’s tape and plastic. This prevents water and solution from coming in contact with electrical components.
Step 5: Open windows to ventilate. If a chemical stripper is going to be used, it is particularly important to use fresh air.
Best Ways to Remove Wallpaper
No one method is the “best” for all situations. The proper technique will depend on the kind of wallpaper, how old the wallpaper glue is, and how large the area is. Here are the six best methods to be used by professionals and doers.
Method 1: Dry Peeling (For Strippable and Peel-and-Stick Wallpaper)
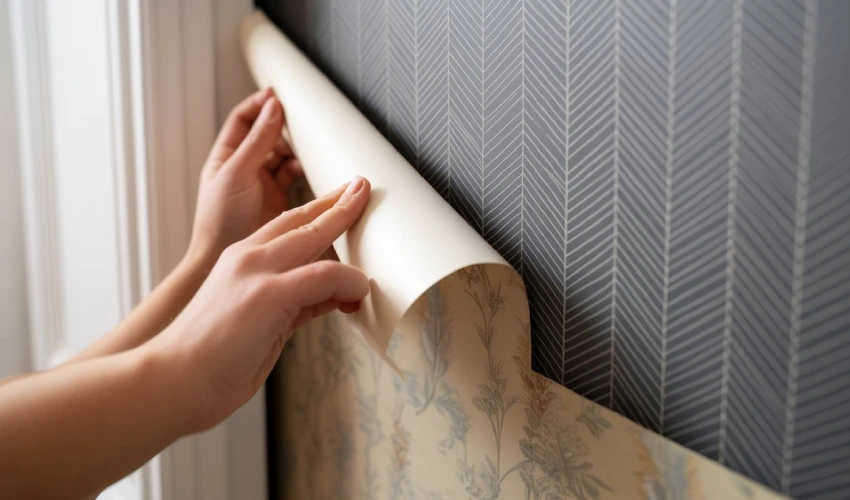
Even if you’re not sure what kind of wallpaper you have, always try this method first. Look for a corner or seam on the bottom of a strip of wallpaper. Lift the edge with fingernails or a putty knife. Slowly and steadily pull up at a 45° angle.
Strippable or peel-and-stick wallpaper will peel off in large stretches without being tugged. This is the most hygienic and simple way without using water or chemicals. A hairdryer may be used to release stubborn corners, as it will heat the adhesive.
Method 2: Hot Water and Dish Soap
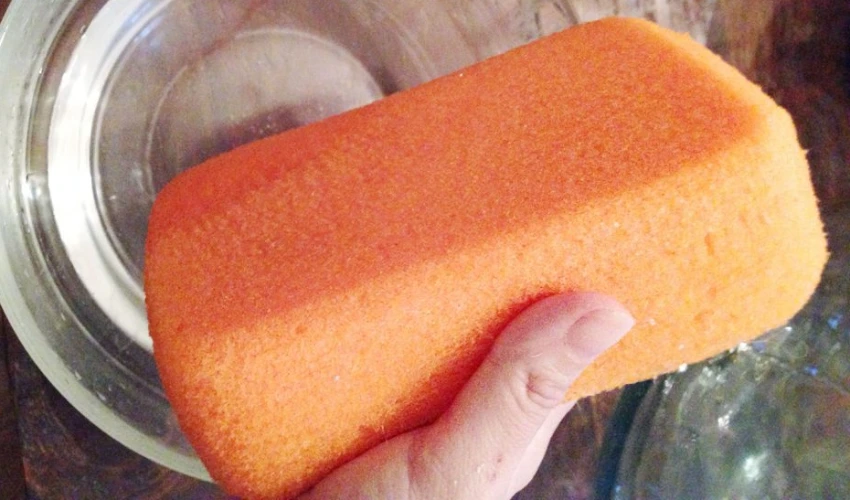
If dry peeling fails, then hot water is your next best bet. This is the least expensive and safest way, because it utilizes what you already have in your home.
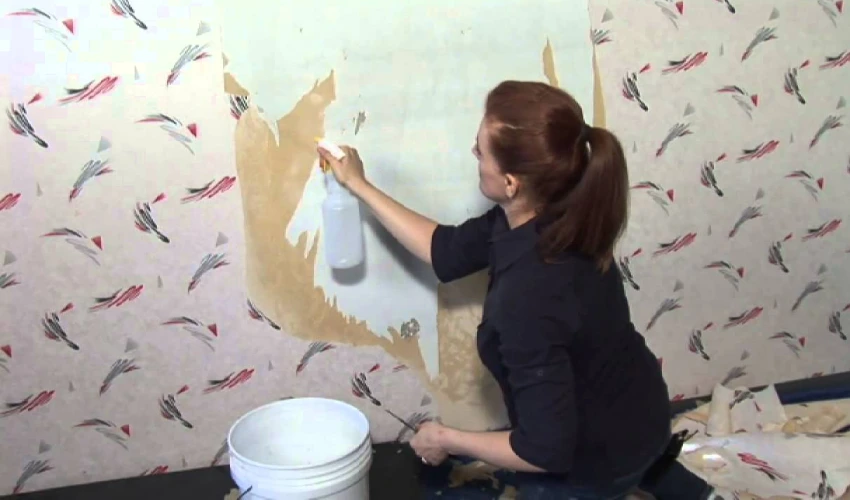
Add some dish soap to a bucket of hot water. Place the mixture in a spray bottle or a pump sprayer. Score the wallpaper slightly with the scoring tool to get water to the glue. Spray a large area of the wall and leave it to dry for about 15-20 minutes.
When the paper is completely saturated, carefully peel it up with a putty knife from the bottom corner. Spray in small areas and re-spray if necessary. The dish soap will take the water to the wallpaper and make the glue dissolve more quickly than water.
Method 3: Vinegar and Hot Water Solution
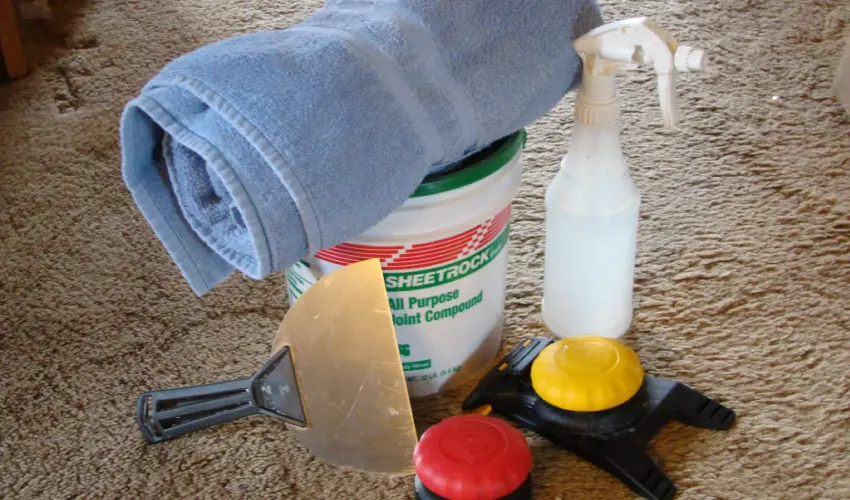
One of the best natural wallpaper removers is white vinegar. The acetic acid is used to dissolve the old glue and to loosen glue that is hard to remove.
Fill a spray bottle with a 1:1 mixture of hot vinegar and hot water to create the solution. Other homeowners prefer to have a higher vinegar to water ratio (1:2) in harder-to-reach areas.
scratch the wallpaper, apply the solution liberally, and allow it to penetrate for 15-20 minutes.
Once soaked, use a wide putty knife to remove the paper. Re-spray any dry spots before they cool. The odor of vinegar is intense but goes away after several hours, once the job is complete.
Method 4: Fabric Softener Solution
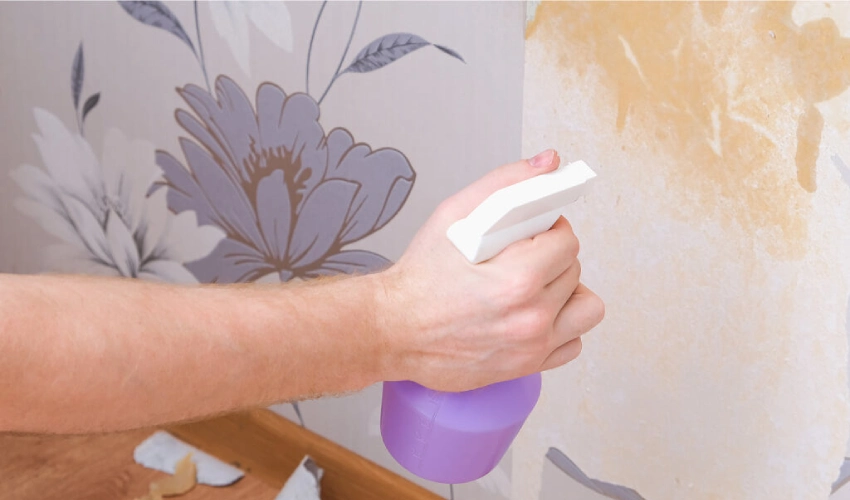
Fabric softener is another popular and good-smelling wallpaper removal solution. The chemicals in the softener loosen the paper fibers and soften the glue below the paper.
In a 1:3 ratio, add hot water to the liquid fabric softener. Pour into the sprayer and spray on the wallpaper that is scored. Allow the solution to sit for 15 to 20 minutes to absorb. Then scrape off the wallpaper with a putty knife.
This is an effective technique that can be used for the majority of paper types and adds a new fragrance to the room. It’s soft, inexpensive, and popular with tenants and DIY newbies.
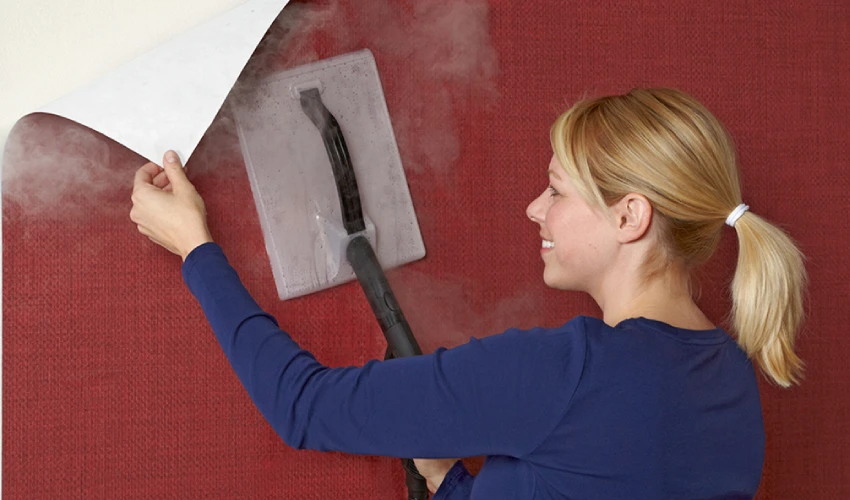
Method 5: Wallpaper Steamer
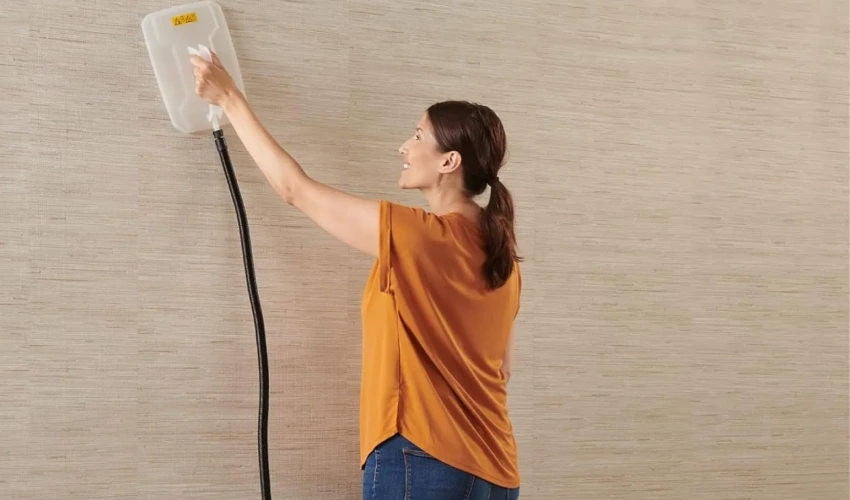
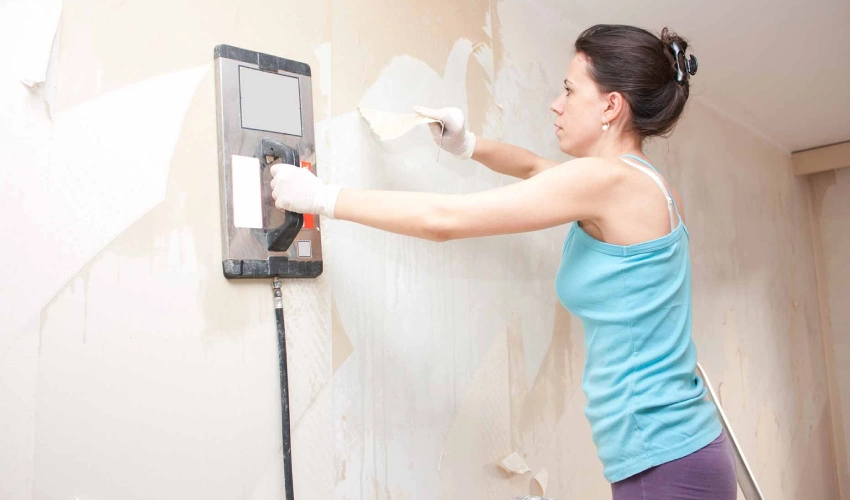
The most powerful tool for removing old wallpaper, painted wallpaper, and multi-layered wallpaper is a wallpaper steamer. It would soften the glue from the surface side using hot steam.
Fill the steamer with water and heat it for a few minutes. Press the steam plate to the wall for 20 to 30 seconds at a time. Slide it over to the next area as you scrape off the softened paper with a putty knife.
Steamers are particularly helpful when dealing with textured or vinyl walls or wallpaper that won’t react to a liquid solution. They cost $50-$100 or are available for rent at most hardware stores for $30 a day. Wear gloves and goggles; the steam is very hot.
Method 6: Chemical Wallpaper Stripper
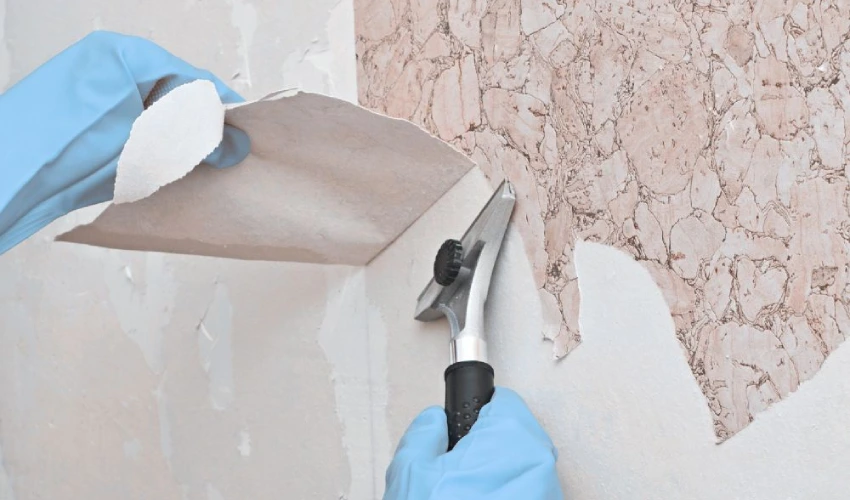
Chemical wallpaper strippers are commercial products that are formulated to remove wallpaper paste. Brands such as DIF, Piranha, and ROMAN can be found at hardware stores.
Add hot water to the stripper, following the instructions on the bottle. Use a sprayer, sponge, or paint roller to apply the scored wallpaper. Allow to sit for the recommended amount of time (typically 15 to 30 minutes). Then peel and scrape the wallpaper off.
Chemical strippers are effective on several types of wallpaper and are very powerful. They do, however, have strong fumes and do need good ventilation. Ideal for larger jobs or when nature has failed.
Preparing Walls After Wallpaper Removal
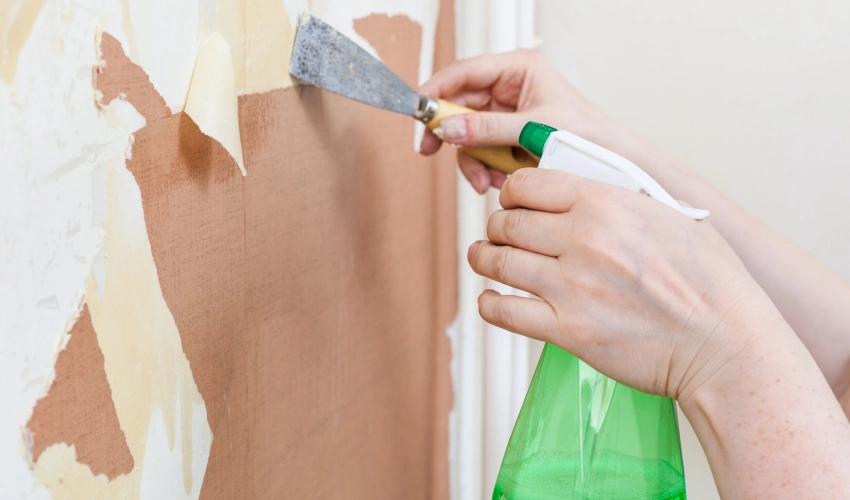
Once all the paper and glue have been removed, there is still some work to be done to prepare your walls. It’s what makes your next paint job or wallpaper installation look professional.
Firstly, check the damage to the walls. There will be repair work for small holes, dents, wall paneling ideas for living room. Use joint compound to cover these areas, making sure the compound is thin. Allow to dry thoroughly and sand with fine-grit sandpaper.
Then use a good quality primer like an oil-based primer or stain-blocking primer. Primer also helps to seal glue residue that might have been left behind and won’t bleed through your paint. It also provides a good foundation for new paint or wallpaper.
Use a wallpaper primer if you will be applying new wallpaper. This will make it much easier to remove in the future when redecorating.
How to Remove Wallpaper Glue After Stripping
When the wallpaper is removed, sticky glue is frequently left on the modern shiplap wall. All of this residue must be removed. It can damage a new paint job if it is not removed and can cause bubbles or cracks.
Dissolve and remove the glue with warm water and a little dish soap or vinegar. Clean the wall in small areas with a sponge. Use a plastic putty knife or rough side sponge to remove stubborn glue. Clean the wall with clean water and dry it with a soft cloth.
If the glue is very thick, do the treatment again, or use a commercial glue remover. Before painting or putting new wallpaper on the wall, be sure it is very smooth and clean.
Common Mistakes to Avoid
Many homeowners get into trouble just because they don’t take the time to do the job properly.
Common Mistakes to Avoid
- Rushing the soaking process. The solution needs time to break down the glue. Pulling too early causes the paper to tear into tiny pieces.
- Using sharp metal scrapers. These can gouge or scratch your drywall. Use plastic putty knives or rounded metal ones held at a low angle.
- Skipping the scoring step. Without small holes in the paper, water and solutions cannot reach the glue underneath.
- Forgetting to remove all the glue. Leftover adhesive will react with paint and ruin your finish.
- Painting over wallpaper. This rarely works long-term. The paper may peel, bubble, or show seams through the paint.
- Working on too large an area. Always work in small, manageable sections so the solution stays wet and active.
Pro Tips for Stubborn Wallpaper
There are some wallpaper jobs that are harder than others, particularly in older homes. If you are having trouble, here are some tips from the professionals:
- Use a hair dryer to apply heat. It is suitable for peel-and-stick or vinyl wallpaper, which won’t pull.
- Use a soaked towel. Apply a hot, wet towel over problem spots for a few minutes to loosen the paper.
- Re-score the area. In some cases, a deeper scoring pass is more effective at getting the solution in.
- Combine methods. Pre-treatment should be done with a steamer, followed by a vinegar spray to remove any remaining glue.
- Be patient. In some cases, wallpaper will require hours per wall. Make time for rest, to maintain energy and focus.
When to Call a Professional
Most wallpaper removal jobs can be completed as a DIY project, but there may be some jobs that require expert assistance. If you have… then think about hiring a professional:
- You have multiple layers of wallpaper to remove
- The wallpaper was installed directly on unprimed drywall
- You are dealing with an entire house full of wallpaper
- The walls are made of fragile old plaster
- You have already damaged the wall and need repair work
A specialist will be able to get the job done more quickly and will also lessen the number of costly mistakes. For big or challenging projects, the price may be worth it.
Ending
Wallpaper removal doesn’t need to be a stressful project. Anyone can produce a professional-looking effect with the proper preparation, proper technique, and a measure of patience. First, determine the type of wallpaper, then prepare your tools and select the method that is best for you.
It doesn’t matter whether you have a vinegar spray, a fabric softener solution, or a powerful steamer; the main thing is to take your time and work in small sections. Always complete the work; remove all glued and prime wall surfaces before redecorating.
A smooth wall, free of dirt, is the ideal canvas to which you can transfer your next design. You’re now ready to create a gorgeous, fresh wall in any room for years to come using the steps in this guide.
Keep visiting styleofhome.com to find more amazing information about other DIY home improvement projects.
Frequently Asked Questions (FAQs)
What is the easiest way to remove wallpaper?
Answer
This is the simplest way, depending on the kind of wallpaper. When it comes to strippable or peel-and-stick paper, the quickest method of peeling is dry peeling. A fabric softener or vinegar spray should be used for traditional wallpaper. A steamer is the best solution for super-tough paper.
Can I remove wallpaper without a steamer?
Answer
Yes. The majority of wallpapers can be stripped with hot water and vinegar, fabric softener, or dish soap. On hard jobs, a steamer only makes the job faster.
Will removing wallpaper damage my walls?
Answer
With proper use of tools and care, removal should not damage. Never use sharp scrapers, and do not hurry the soaking step. Joint compound can be used to easily repair small dents.
How long does it take to remove wallpaper?
Answer
A small bathroom can take 2-4 hours, and a full living room can take a full day. Older or multi-layered wallpaper takes longer than newer type wall paper.
Can I paint over wallpaper instead of removing it?
Answer
This is NOT recommended. Peeling of paper and appearance of seams can occur when paint is applied. The complete removal of the wallpaper is the effective solution in the long-term.
How do I remove wallpaper glue without damaging the wall?
Answer
Use warm water containing dish soap or vinegar. Use a sponge to apply and allow to soak, then gently scrub. For thicker glue, a plastic scraper can help to remove it without scratching the surface.