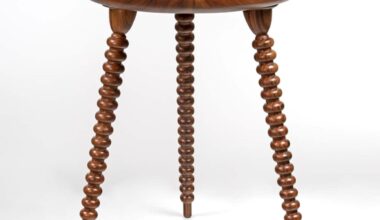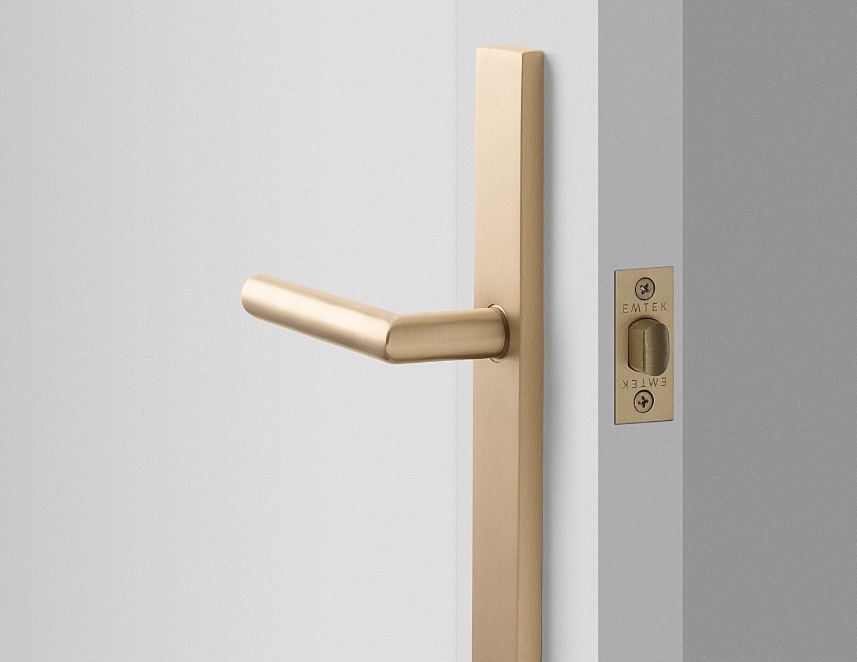
Home furniture hardware is one of the most important things in maintaining the overall look of the house. One such piece of hardware is the gold door handles. Over time, they can become dull or outdated, so it is important to keep them up to date.
Thus, instead of replacing them, you can breathe new life into your gold door handles with a fresh coat of paint. So, this guide will take you through the process of painting gold kitchen cabinet handles step by step.
Why Paint Gold Door Handles?
Painting gold door handles is a cost-effective way to update the look of your home. Whether you want to restore their original shine or change their color to match the new decor, painting is a versatile solution. Additionally, it’s a fun DIY project that can be completed in a weekend.
When painting cabinet handles, you have the opportunity to select the exact shade and finish that best compliments your home. Whether you prefer a classic gold look, a sleek matte black, or a trendy brushed nickel, painting gives you complete control over the final appearance.
How To Spray Paint Gold Cabinet Hardware: Easy Steps
It is pretty easy to transform the look of your cabinet handles. Here is how to paint gold kitchen cabinet handles step by step:
Step 1: Remove The Door Handles
The first step in painting cabinet handles is to remove them from the doors. Use a screwdriver to carefully unscrew the handles and set aside the screws in a safe place. This ensures you can reattach the handles easily once they are painted.
Step 2: Prepare Your Workspace
Now, set up your workspace in a well-ventilated area, preferably outdoors. Then, lay down a newspaper to protect surfaces from paint splatters. Moreover, wear gloves and a mask to protect yourself from fumes and dust.
Step 3: Clean The Handles
Clean the door handles thoroughly to remove any dirt, grease, or grime. This step is important as the paint doesn’t stick well to a dirty surface. Therefore, use a mild soap and water solution and wipe them using a microfiber cloth.
Step 4: Sand The Handles
To ensure the paint adheres well, lightly sand the door handles with 220-grit sandpaper. It will make the surface rough which makes it best for the paint adhesion. Finally, wipe off any dust with a tack cloth.
Step 5: Apply Painter’s Tape
If your door handles have intricate designs or areas you don’t want to paint, cover them with painter’s tape. This will help you achieve clean, professional-looking results. Moreover, it will also prevent the splashes from getting onto your furniture and ruining its appearance.
Step 6: Prime The Handles ( Optional )
Apply a coat of primer to the handles. It provides better adhesion and provides a consistent finish. Choose a primer suitable for a gold surface. Make sure to let the primer dry completely.
Step 7: Spray Paint The Handles
Now it’s time to spray paint door handles. Shake the spray paint can thoroughly and hold it about 10-12 inches away from the handles. Apply the paint in light, even coats, using smooth, sweeping motions. Also, make sure to avoid applying too much paint at once to prevent drips.
Step 8: Apply A Clear Protective Finish ( Optional )
When you are sure the paint is dry, then apply a protective finish to seal the paint and provide extra durability. This step is important as it makes sure that the door handles, under a lot of wear and tear, remain functional and appealing.
Step 9: Reattach The Handles
After the protective finish has dried completely, remove any painter’s tape and reattach the door handles to your doors. Make sure to tighten up the screws when reinstalling these gold door handles to ensure that they are not loose.
Common Mistakes To Avoid When Painting Gold Door Handles
If you want to paint your gold door handles with perfection, avoid the below-listed mistakes that people often make:
-
Neglecting Proper Surface Preparation
One of the most critical steps in painting gold door handles is proper surface preparation. Failing to clean the handles thoroughly can result in the paint not adhering properly.
Moreover, dirt, grease, and old polish can create a barrier between the handle and the paint, leading to a patchy and unprofessional finish. Therefore, always start by washing the handles with a mild detergent and water, then drying them completely before proceeding to the next steps.
-
Skipping The Degreaser
Before you start sanding, it’s essential to use a degreaser to remove any oily residues that soap and water might have missed. Soap and water can clean the surface to a certain extent, but they often leave behind residues that can interfere with the adhesion of the primer and paint.
Using a degreaser is a straightforward process that significantly improves the outcome of your project. Spray the degreaser evenly over the surface of the door handles, making sure to cover all areas, and then rinse it with clean water.
-
Improper Sanding Technique
Sanding is vital for ensuring the paint adheres properly to the metal surface. However, using the wrong grit sandpaper or applying too much pressure can damage the handles, leaving unsightly scratches or even weakening the metal.
Additionally, applying too much pressure while sanding can make the surfaces uneven, which can cause the paint to appear blotchy or lead to premature chipping and peeling. Take your time and sand lightly, focusing on creating a uniform texture rather than removing material.
-
Inadequate Drying Time Between Coats
If you rush throught the process and dont give enough time for the drying then it will cause the paint to peel or bubble, ruining your hard work. Each layer of paint needs adequate time to dry and cure properly, ensuring a smooth and durable finish.
Generally, it’s best to wait at least 24 hours before handling the painted handles, even if the paint feels dry to the touch. Thus, proper drying allows the paint to fully set and harden, reducing the risk of smudging or damaging the surface.
Conclusion
Mastering how to paint gold door handles is a simple and rewarding DIY project that can elevate your home’s decor and increase its overall appeal. Whether you’re updating kitchen cabinet handles or refreshing door hardware throughout your house, following the steps mentioned above will ensure beautiful, long-lasting results. Moreover, make sure to avoid mistakes like using the wrong sandpaper and not letting the paint dry for optimal results.
FAQs
Can I paint the gold door handles?
Yes, the door handles can be easily painted for an updated, new and refreshing look. Painting them with a matching color of your home furniture would maintain your house’s aesthetics. Moreover, the painting process is easy. Just spray several coats of spray paint on them and let them dry for the outcome.
What is the best paint for gold door handles?
The enamel paints designed for metallic surfaces are by far the best paint to use on gold door handles. They are not only durable but also provide wear and scratch resistance to the door handles, making them more durable. You can find these paints in different finishes like gloss, satin and matte.
How to clean gold door handles before painting?
You can clean the gold door handles with a soft cloth to ensure that they don’t leave any scratches on the gold surface and remove dust particles. Cleaning them before painting provides better adhesion and a smoother finish.